A $400 gaming PC build is for entry-level gaming. When you want to save the most money possible while putting a build together that has a high level of upgrade potential for the future then this is the budget point you want to be at.
You don’t need a dedicated graphics card at this price range because of how well the integrated graphics have advanced with today’s CPUs. At this budget range, you can start out with integrated graphics and upgrade from there.
If you want to know how to build a gaming PC for around $400 then you should follow the part list below. This guide will show you how to go about building it as well as share what you can expect out of a build like this.
$400 PC Build Part List:
Last Updated: January 24th, 2024
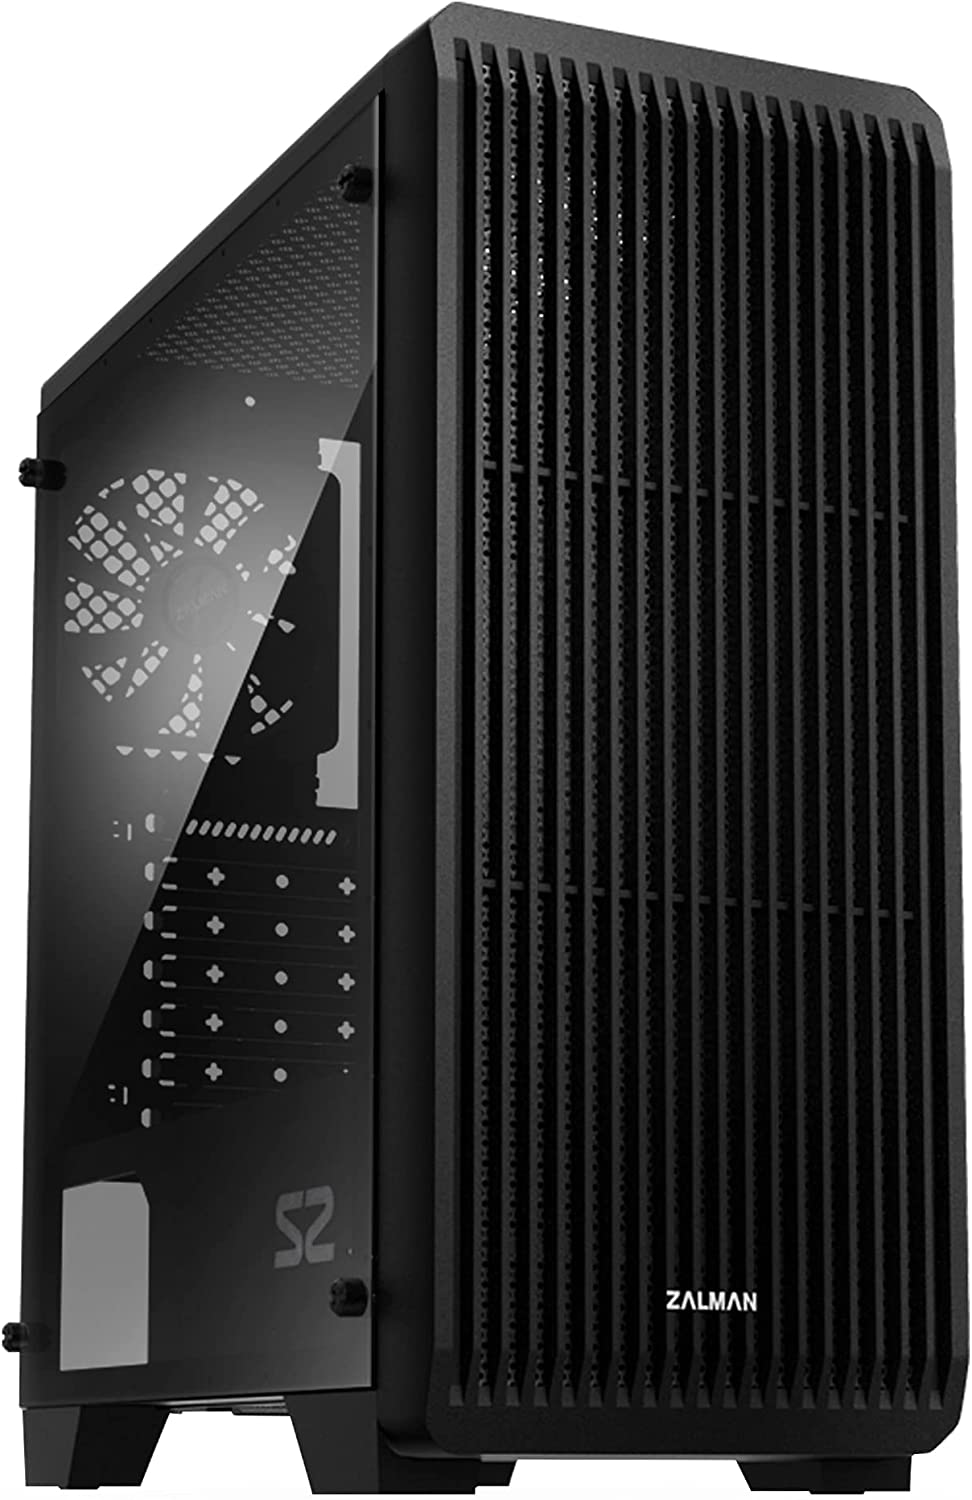
Case – Zalman S2 ATX Mid Tower Case
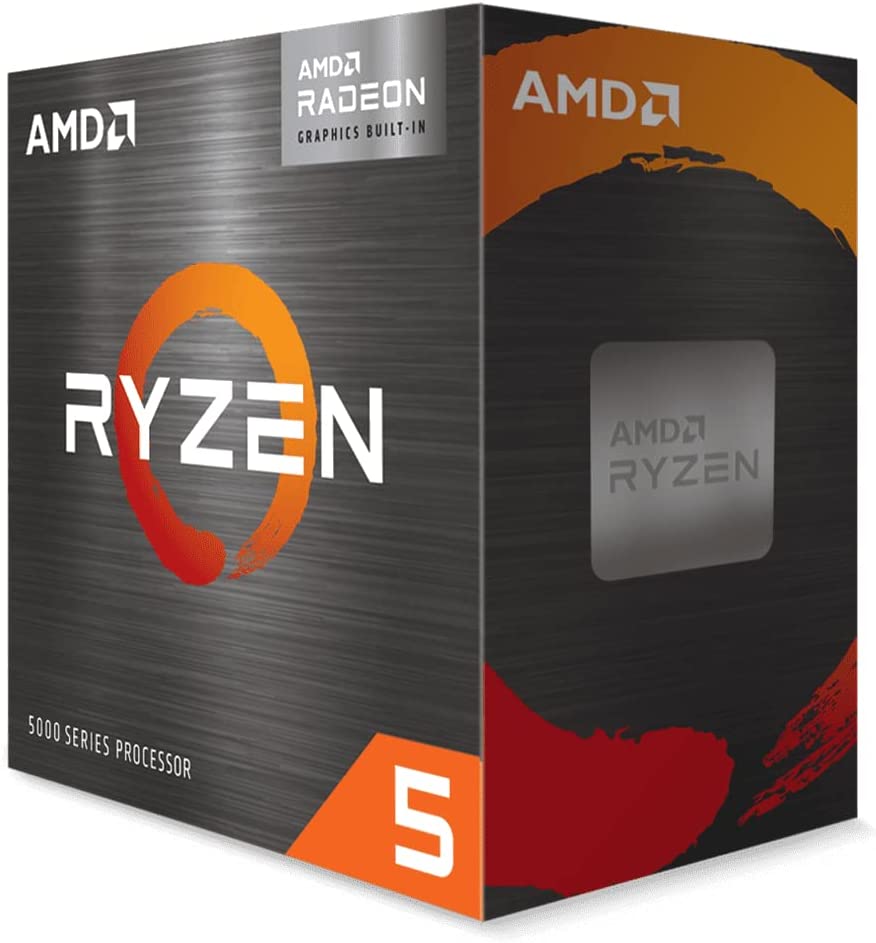
CPU – Ryzen 5 5600G 4.4GHz 6-Core Processor
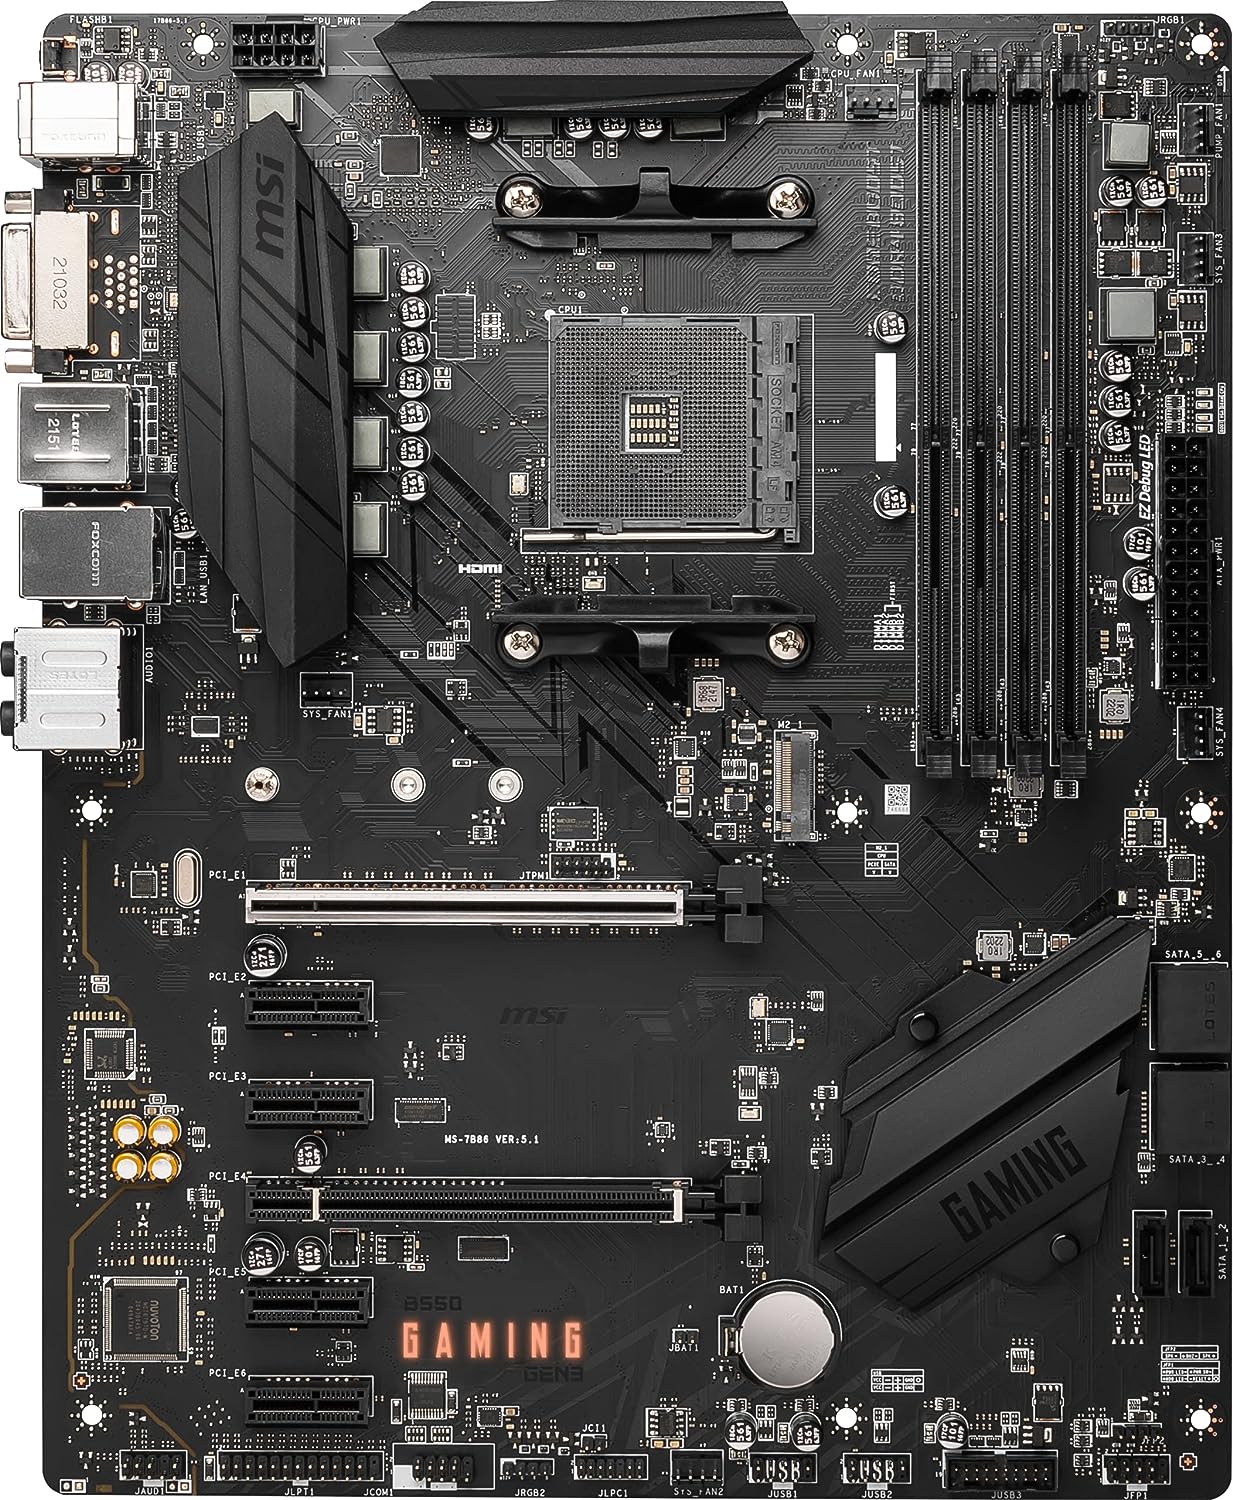
Motherboard – MSI B550 GEN3 ATX AM4 Motherboard
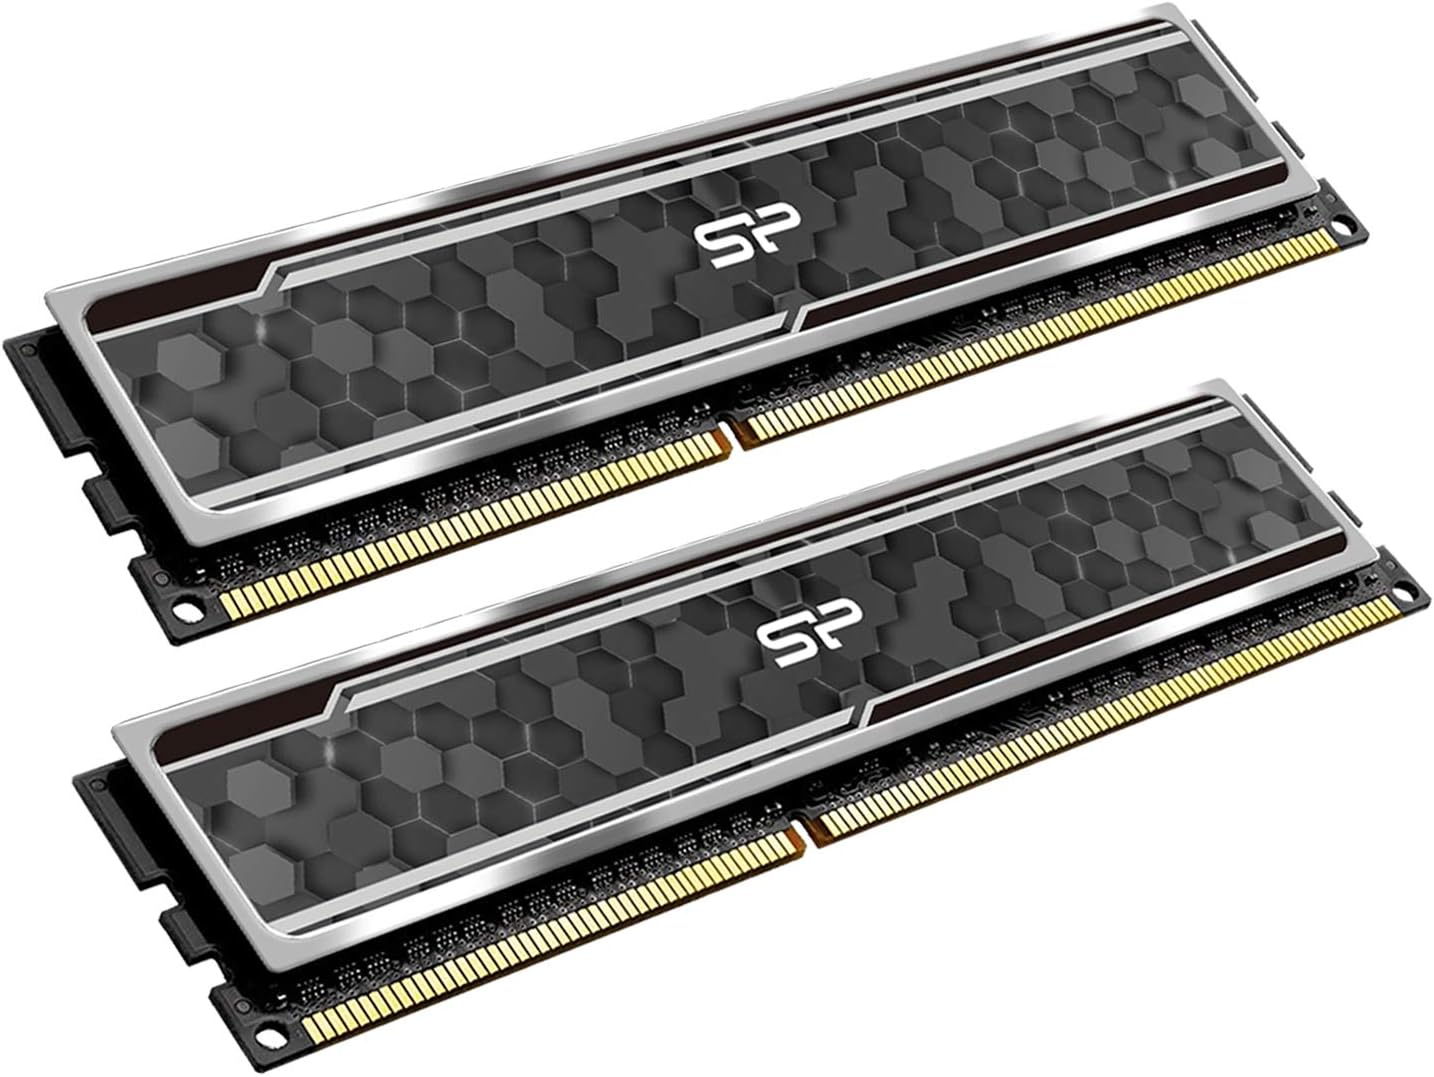
RAM – Silicon Power Value Gaming DDR4 RAM 16GB (2x8GB) 3200MHz
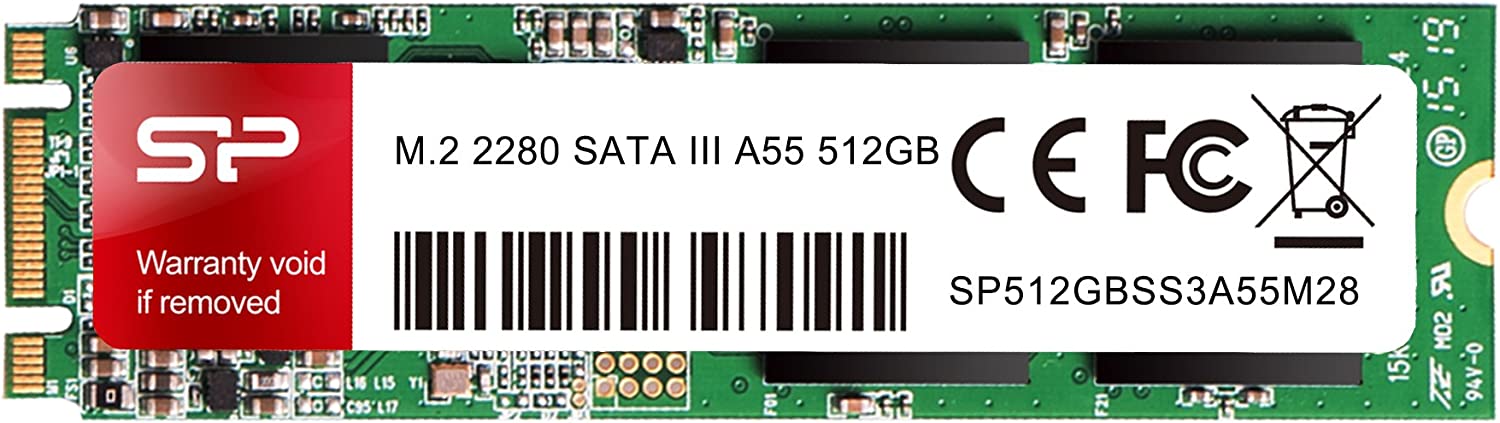
Storage – Silicon Power 512GB A55 M.2 SSD

GPU – Integrated AMD Radeon Vega 7 graphics from the CPU
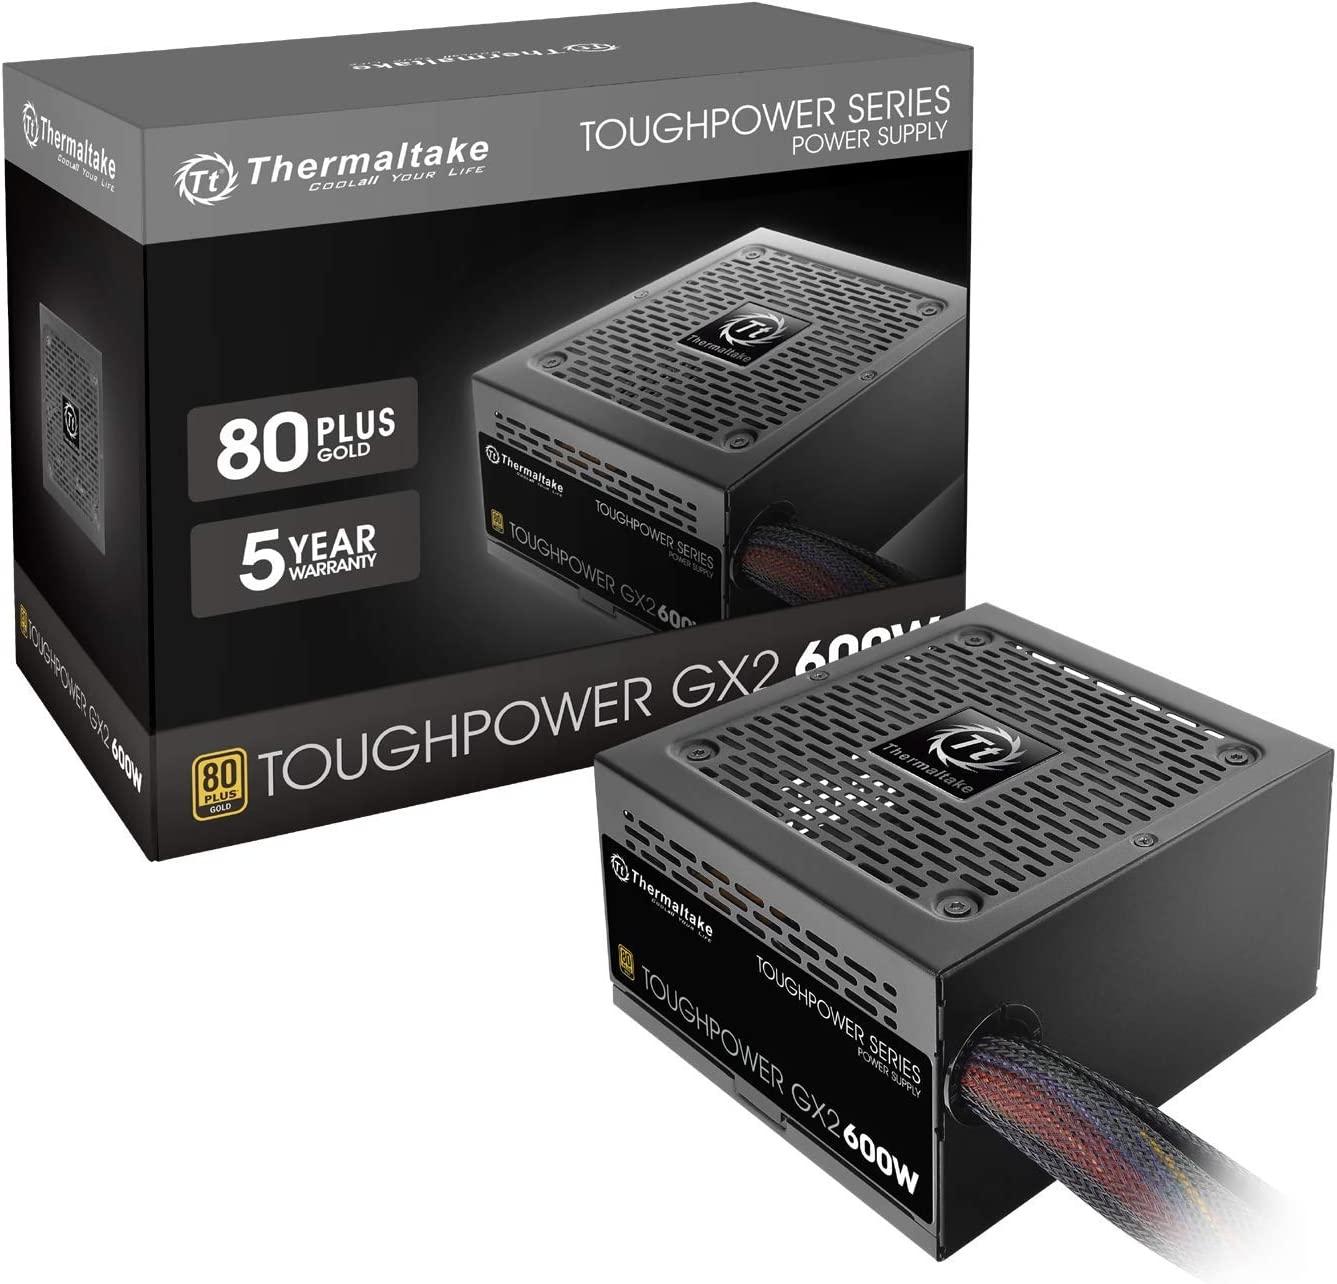
PSU – Thermaltake Toughpower GX2 80+ Gold 600W
Estimated Final Price: $360-$440
Gaming Performance
Right now, a $400 PC build like this has to use integrated graphics from the processor to save money. The whole point of this build is to create a PC gaming foundation.
Then when the time is right and you’re able to afford a dedicated GPU you’ll be able to have a pretty decent 1080p gaming build on your hands!
You should shave off some of the final cost by going with a Micro-ATX motherboard or going with a lesser power supply… But I really wouldn’t recommend going that route.
When the time comes where you’re ready to throw in a dedicated GPU, you’ll want more than enough room with your power output that you can get a nice GPU down the road.
And, at least at the time of this writing, going with an ATX motherboard just makes sense at the price. Save the money if you want/need to, but having full expansion capabilities at this price point is extremely nice to have! It has been a while since a $400 build could have parts like this at this price range.
Even with the integrated Radeon Vega 7 graphics, you’ll still be able to have decent enough performance to be able to play many different titles on lower settings, at 1080p.
At the lowest graphics settings possible at 1080p: You can expect this build to run games like Fortnite at 110 FPS avg, Valorant at 130 FPS avg, Rainbow Six: Siege at 60 FPS avg, Red Dead Redemption 2 at 20 FPS average, Counter Strike: Global Offensive at 110 FPS avg, and Elden Ring at 25-30 FPS avg.
If you want to adjust some graphics settings to be higher then you will have to downscale your resolution to 720p. Even without a dedicated graphics card, you’ll still be able to play some awesome titles by starting out with this rig!
If you’re looking for a gaming PC build to upgrade in the future and you are okay with entry-level performance for now, then this would be the perfect build to start with.
Whenever you deem it necessary to start upgrading this build, you can start by adding a dedicated graphics card and then go from there!
How To Build This $400 Gaming PC
I’d highly recommend following something like the video guide below when it comes to putting this PC together. It’s a great guide and it is easy to follow!
There may be some parts that are different from this build in the video embedded below and that’s okay! If there is another part that you don’t understand then you should look through the manual of that part and/or look up other video tutorials as well.
If you find yourself having trouble understanding a certain part then you should always search for the specific part and how to install it on YouTube, there are plenty of videos out there showcasing how each part can be installed.
For example, if you aren’t sure how to install your solid state drive then simply search “How to install a solid state drive into PC” on YouTube and you’ll find plenty of material to follow.
Also, you don’t have to use the above case for your build!
You can use almost any other mid-tower case if the above case isn’t your style. Feel free to browse the mid-tower cases on Amazon and if you find one that you think you’d like to use, link it to me in the comments below and I’ll be able to let you know if it’d work or not.
After putting your rig together, you’ll need to install your operating system, drivers, and other software. You’ll also need to get connected online.
There are a couple of posts here on the site that you should read up on if you need to know how to install your operating system as well as get connected online.
Click the buttons below to learn how to install Windows 11 and get an internet connection with your build!
Have Any Questions?
Feel free to reach out to me in the comments area below if you have any questions about the build, I’m all ears!
From hardware compatibility, gaming performance on specific titles, or whether or not a different case would work with this build… I’m here to help! 🙂
Seems none of these lists account for OS purchasing eh? cause that’s an easy extra 135+ dollars if you want windows. That or some other option not quite at user friendly.
Hey Weller,
I go more in-depth about getting Windows installed within the same section as the build video. But yes, a license from an official retailer will run up the price a bit, but there are always key sites to use that offer licenses for a lot cheaper. And you don’t need to purchase a license right away, you can get Windows installed without a license at first and get the license down the road as well.
Does the case have to be a zalman s2 atx?
Nope! I mentioned in the “How To” section that you can browse different mid-tower cases and if you find one that you think you’d rather use then you could always link it to me in a new comments and I can let you know my thoughts on it and whether or not it’d work for this exact build!
Let me know if I can help you further! ?