Last Updated: January 21st, 2024
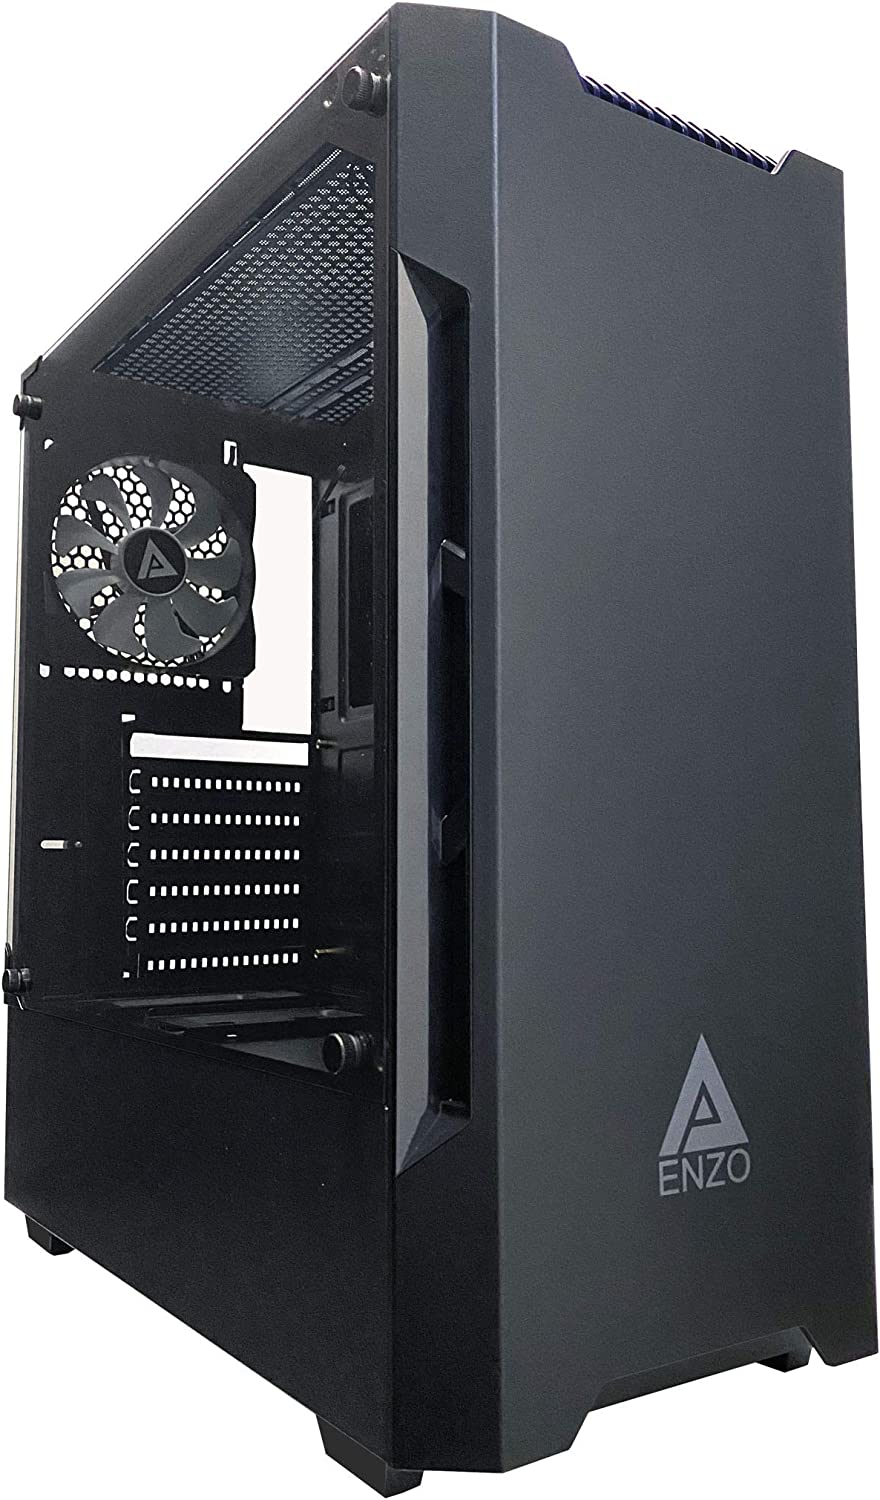
Case – Apevia ENZO Mid-Tower Case
You can use Other Mid-Tower Cases as well.
Feel free to reach out in the comments below for help with other case choices and compatibility. 👍
CPU – Intel Core i3-12100F 3.3 GHz Processor

Motherboard – MSI PRO H610M-G LGA 1700 mATX Motherboard
RAM – TEAMGROUP T-Force Vulcan Z DDR4 (2x8GB) 3600MHz
Storage – Silicon Power 512GB A55 M.2 SSD
GPU – XFX Speedster SWFT210 RX 7600 8GB

PSU – Thermaltake Toughpower GX2 80+ Gold 600W
Are there any subsitute for the ram card they arent available in my country
And can i change the ssd to 1tb if so what ssd card should i use ?
Hey Gobe,
I’d suggest going with this RAM kit from Corsair and as I can see, there is a 1TB version of the drive on the same product page as what I’ve linked in the part list.
Let me know if I can help any further as you’re moving forward with your build! 👍
I was wondering what would be a good replacement gpu since that one is out of stock? Could I put a i5 into this build? I’m also wondering how upgradable is this setup and is 1 fan enough? Thanks!!!!
Hey Josh,
It seems to be back in stock at least at the time of replying to you here, otherwise I’d suggest looking into this RX 7600 from PowerColor as an alternative card.
Yes, you could go with an i5 for this build if you wanted to. I’d suggest using the Intel Core i5-12400F.
You’ll eventually want to add intake fans to the front of this case to optimize airflow, but the stock Intel CPU coolers gets the job done. It’ll run just fine with the single exhaust fan that comes with the case, you wouldn’t run into overheating issues if you’re using the PC in normal room temps. It’s just good to ensure that airflow is properly done with intake/exhaust down the road.
You could also look into using a different mid-tower case that includes intake if you have a bit more room in your budget and would prefer to have intake fans right out of the gate.
can u maybe send me a gaming setup for under 1000$ please it doesn’t need to be something all over the top just a cool pc case?
Hey Jean,
There is also a guide here for around the $1000 budget range, check it out here! – How To Build A Gaming PC For $1,000
You can also reach out to me via email if you’d like – colton@pcbuildsonabudget.com and I’d be able to help you narrow down more specific parts if that’s what you’re looking to do! 👍
I built this pc, only with the 750w power supply you have on higher builds. I turned it on for the first time after building and the boot debug light is on. Could this be because I don’t have OS installed yet?
Hey there,
You’re able to boot up to the BIOS screen? You have your video cable plugged directly into your GPU and are seeing the first boot screen?
If so then yes, now you’ll just need to install your OS.
Would it be possible to run windows 11 on this pc
For sure! You can follow along where I linked for Windows 10 and upgrade or do a similar process for Windows 11 right out of the gate. 👍
Are there any other components I would need? For example a cpu cooler or case fans?
Baguette,
Nope! You will need to follow through with the Windows installation guide I have linked for the build page and if you need further help with getting connected online there is another article linked to help you there. A stock CPU cooler will come with the processor and it’s not essential to get any extra case fans but it wouldn’t be a bad idea to eventually buy some intake fans at the front for better airflow or to go with a different case that also includes intake fans.
Hey there, I just have one quick question about this build. Do you think it could run Youtube livestreaming effectively?
Hey there Aayush!
You’d be able to get it done, it’s a good build for starting out streaming – though as far as being able to stream super effectively… Obviously the more power you’re able to have the better quality stream you’ll be able to output. For some games that are very CPU dependent there are methods of hardware encoding where you can have your GPU do more of the heavy work that way you aren’t dropping as many frames in-game while streaming… But, in a nutshell, you can for sure stream with this build as is.
You’ll probably lose around 30%-40% FPS (depending on how your stream is set up and how much more “juice” your PC needs to use while streaming) so you’ll have to adjust game settings from there to what you’re happy with. For general streaming, you’d be good to go for starting out in streaming.
Hey! My mom recently bought Diablo IV and our current PC cant really handle it, we have some extra ram sticks, is it possible to just stick in our old rams sticks to get up to 24 gb of ram? Also is it possible to swap out the M.2 SSD 512 for a 1 tb?
Hey there!
I personally wouldn’t mix and match different RAM brands/speeds because issues can arise from it… I know some folks have used different brands of RAM that are the same speeds and what not and didn’t run into issues, but if it’s super old RAM – such as DDR3 – then it’s not going to be compatible with a PC that is currently using DDR4 RAM. Just depends on how new your current RAM is.
And sure, you could swap out your M.2 if you wanted to, however you might want to just look into adding in another SSD for extra storage space and keeping your 512GB M.2 as is. Then you’ll have extra storage space without having to worry about swapping around your Windows install and keeping all of your original files.
Hey there,
Unfortunately, Apevia ENZO isn’t available in my country, and shipping from the US is quite expensive.
What other cases would you recommend? I’m thinking about Zalman S3, but I’m not if it works for this build.
Thanks 🙂
Hey Leo, hopefully still able to help you out here!
The Zalman S3 case would work fine with the build as is! You can also browse different mid-tower cases and if you find something you think you’d want to use instead, link it in another comment here and we could see if it’d be compatible/worth getting! 👍
How many frames would this build run on rust and escape from Tarkov
Hey Zachary,
At 1080p resolution – Rust will run at about 110 FPS average on lowest settings, and about 60 FPS average at maximum graphics settings (with some settings tweaked, such as without motion blur, dirt lens and depth of field) + SMAA.
Escape From Tarkov will run about 80-90 FPS average on lowest settings, 40-60 FPS average on max settings. There are multiple graphics settings options to tweak, depends on how to specifically tweak some settings but overall, expect 50-60 range maxed out.
I love this build! I don’t do much gaming but thinking about building my own PC for trading. Would this run ThinkorSwim smoothly and multiple chrome tabs on two monitors?
Absolutely, Sjacks. These specs far surpass what it recommended for ThinkorSwim and would do fine running multiple Chrome tabs and Discord, games, etc.
Do you know of any cheaper GPU’s that would still run the same with this build
Honestly, if you want to save the most money possible and still be able to game decently well then I’d suggest going with this Ryzen 5 5600G processor instead and using the integrated graphics until you can afford to put in a dedicated graphics card to your PC.
The reason being is that I don’t think it’d be worth going to a lower-end GPU than what is currently listed here, not for the long run anyway. So I would go with the Vega integrated graphics of the 5600G for now and upgrade to a dedicated card when you’re able to. You’ll still be able to play high-demanding titles, at a tweaked low/medium setting of course, but you’d still be able to play basically any game!
Let me know what you decide to do! 👍
Could you put a 900 WATT PSU in the build safely? I just don’t have the extra money for the PSU and I have a spare 900 and 950 WATT PSU.
Absolutely, Cran. It’d be 100% fine to use that type of power supply that you have lying around. The only issue that “could” arise is if the PSU is super old and doesn’t have the correct type of cable for a newer GPU.
i have a chromebook right now and i dont have enough money to buy the parts and i have been trying to play roblox on here but it says it not compatible with this laptop
With any game, you’ll need to ensure that your PC is able to meet at least the minimum specification requirements with your PC’s hardware before you’ll be able to have a smooth enough experience for the game.
When I was getting the money together for my first PC build years ago, I’d buy each part as I was able to afford them, almost as “payments” as I was able to afford each part. You could also look into using some integrated graphics at first and getting a dedicated graphics card down the road whenever you’d deem it necessary! 👍
Always here if/when you’re able to get the funds for a build and always down to help out!
Would I be able to substitute the 600w power supply for a 500w one or would 500w not be enough
Only reason I wouldn’t recommend going with 500W PSU is for future upgrades/overclocking down the road. Otherwise, yes, this build as is will be able to run with a 500W PSU.