Last Updated: January 21st, 2024

Case – Thermaltake V250 Mid-Tower Case
You can use Other Mid-Tower Cases as well.
Feel free to reach out in the comments below for help with other case choices and compatibility. 👍
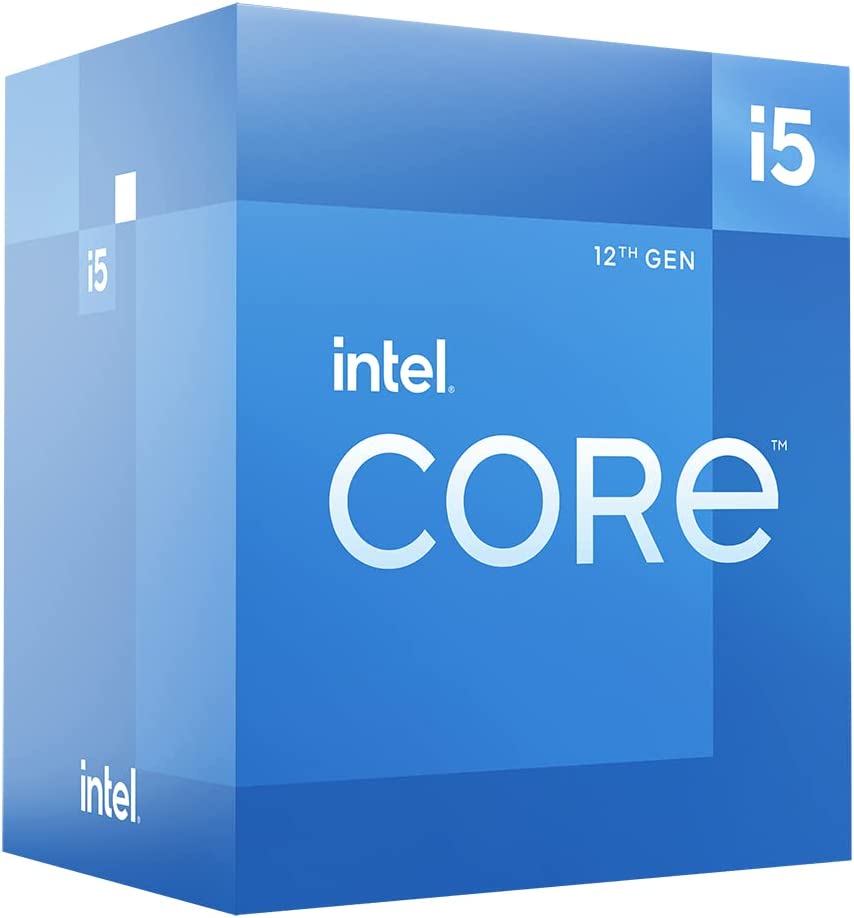
CPU – Intel Core i5-12400F 4.4 GHz Processor
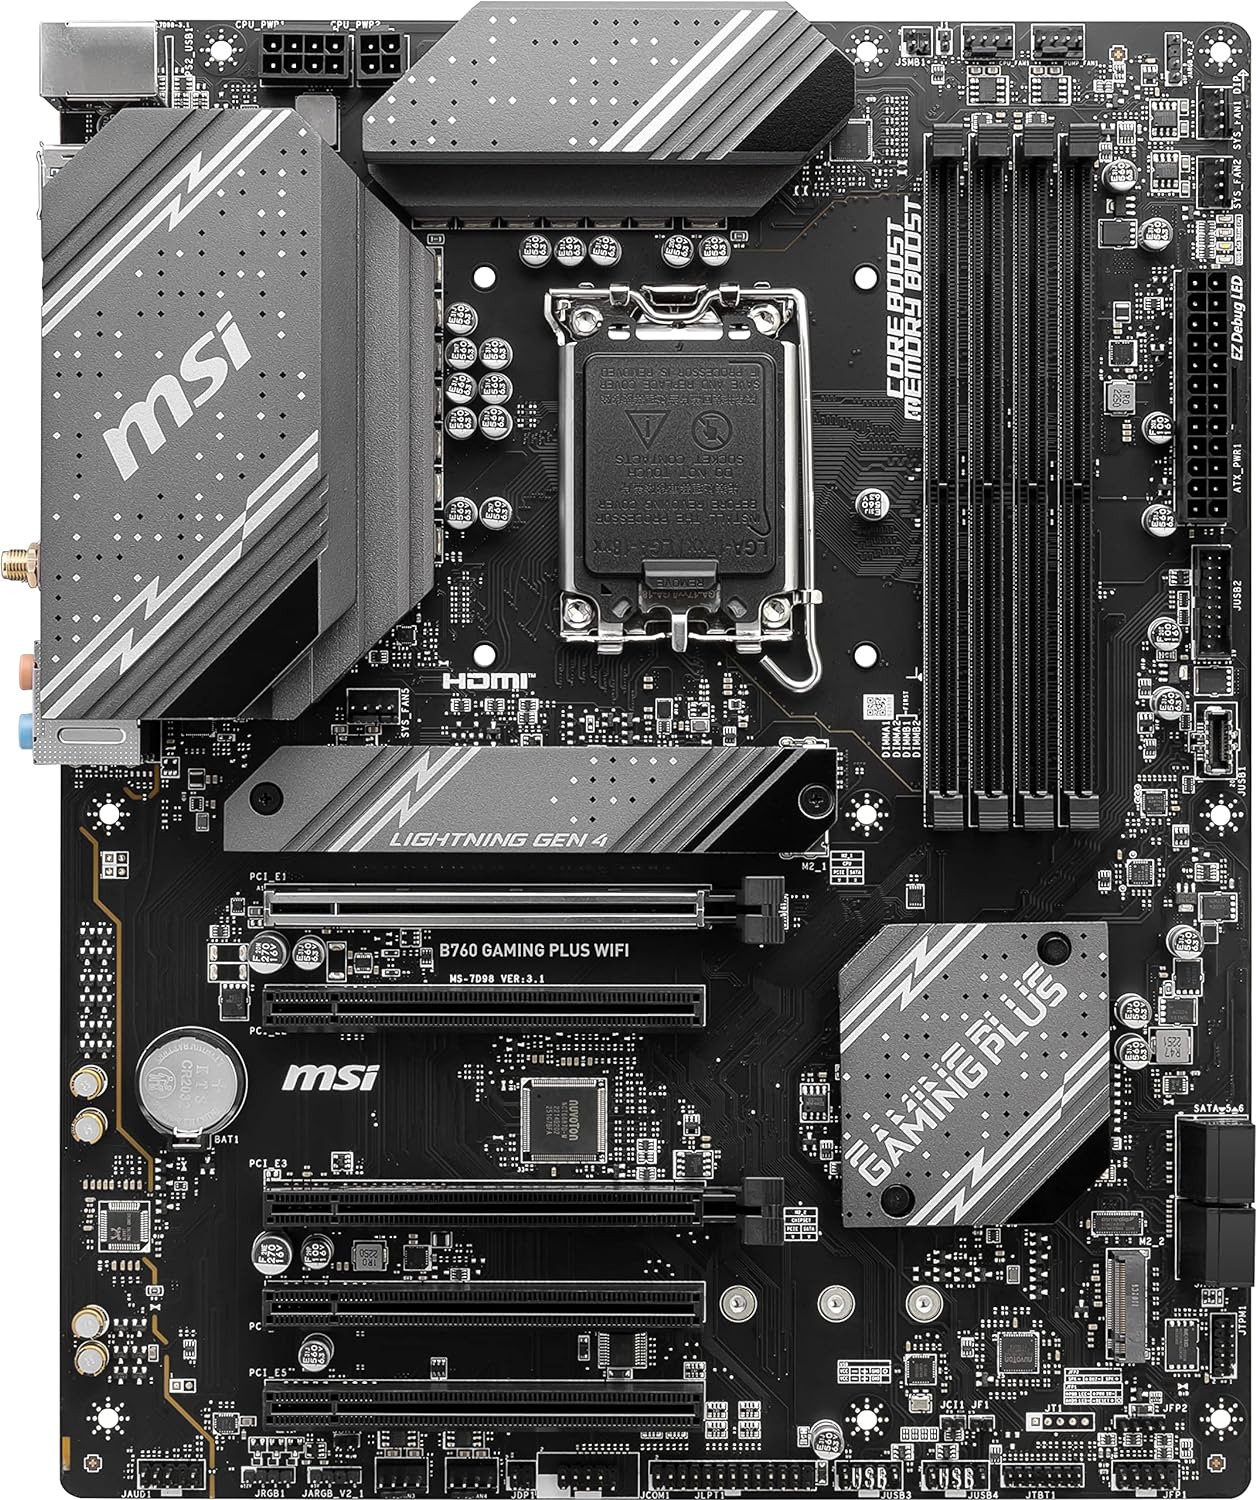
Motherboard – MSI B760 Gaming Plus WiFi LGA 1700 Motherboard

RAM – Kingston FURY Beast 16 GB (2 x 8 GB) DDR5-6000
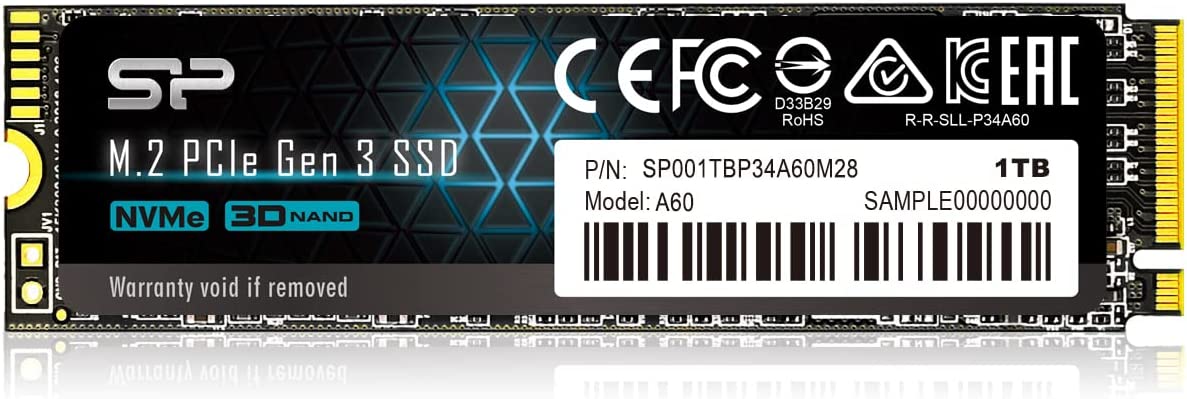
Storage – Silicon Power 1TB NVMe M.2 SSD
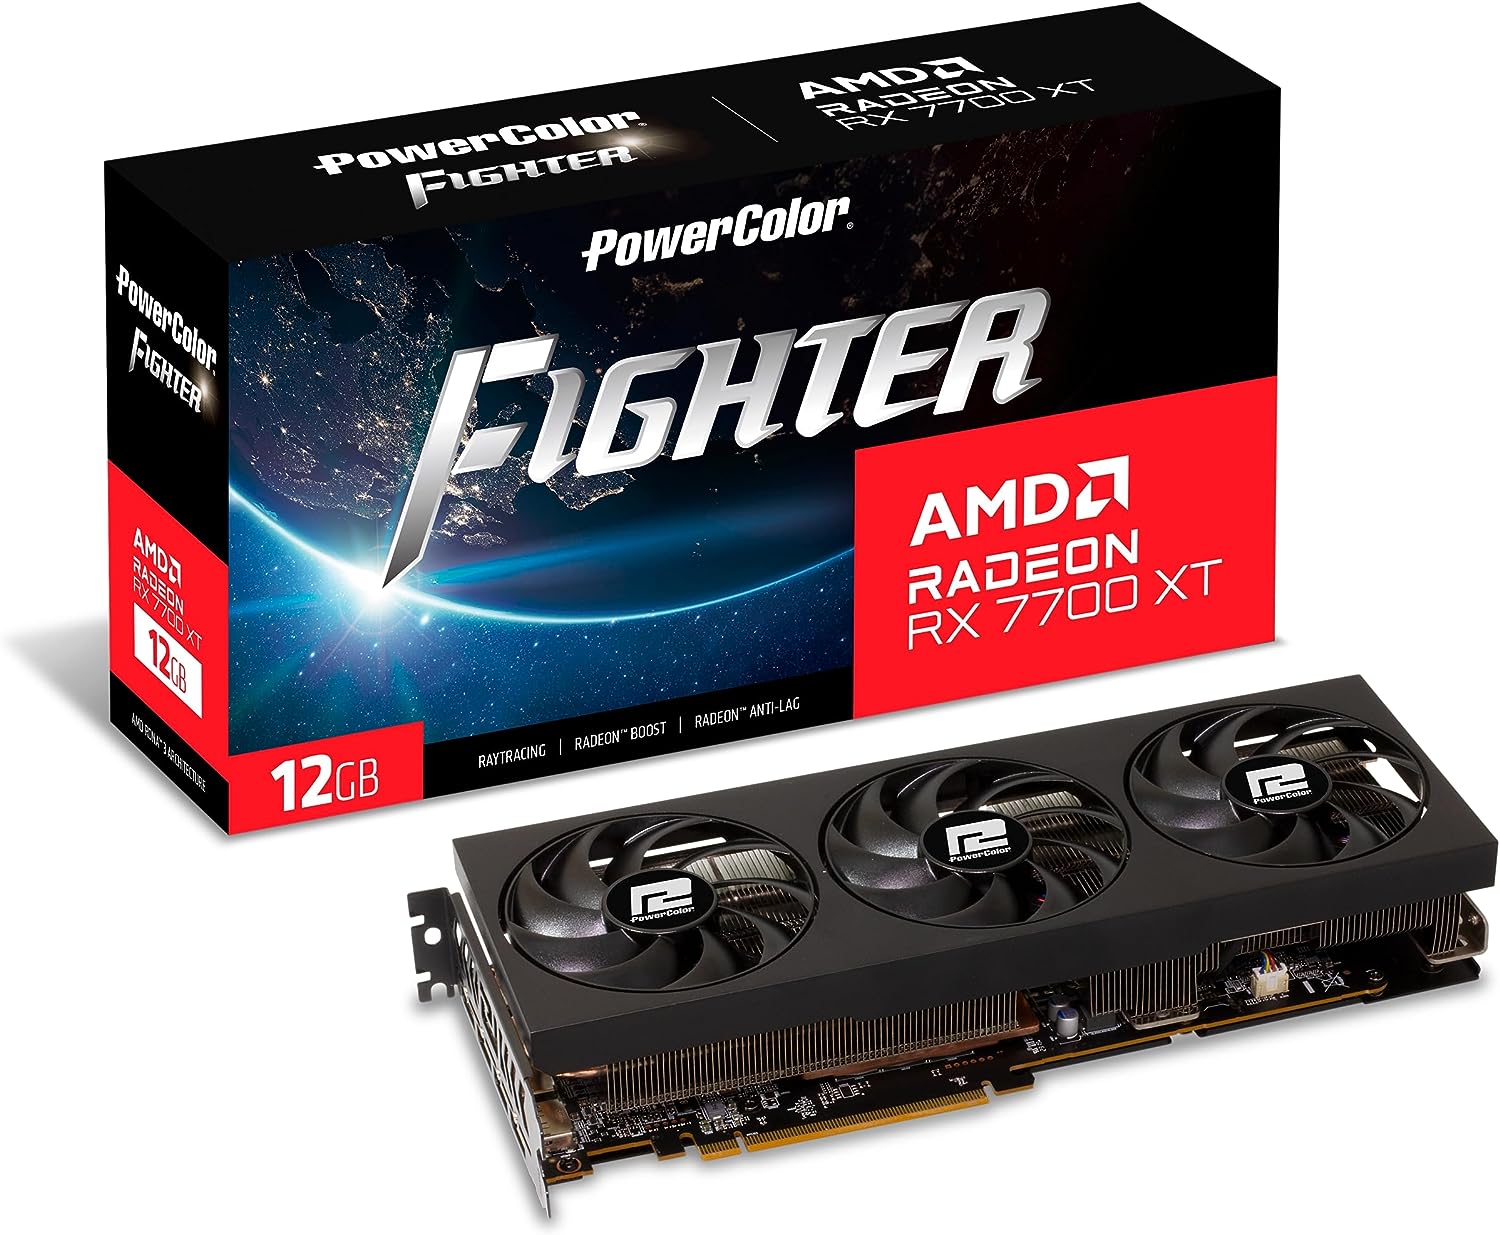
GPU – PowerColor Fighter RX 7700 XT 12GB

PSU – EVGA SuperNOVA 80+ Gold 750W
I followed all instructions but the video that is linked above is from 2020 wasn’t the same build as you have above for July 2023 that I purchased all via Amazon…
CPU – Intel Core i5-12400F 4.4 GHz Processor
Motherboard – MSI PRO Z690-A LGA 1700 Motherboard
RAM – G.Skill RipJaws V Series 16GB (2 x 8GB) DDR4 3600MHz
Storage – Silicon Power 1TB NVMe M.2 SSD
GPU – XFX Speedster RX 6700 XT CORE 12GB
PSU – EVGA SuperNOVA 80 Plus Gold 750W
Case – Somwhow I bought the similar though not colorfully lit
Corsair 4000D Airflow Tempered Glass Mid-Tower ATX PC Case
Anyhow a bit confused at the moment
I finished my build…using the instructions manuals online or included in each part box…
Then I plugged in the monitor -I bought a KOORUI 27 Inch QHD Gaming Monitor 144 Hz, VA, 1ms, DCI-P3 90% Color Gamut, FreeSync G-Sync Compatible, (2560×1440, HDMI, DisplayPort)…
I original used the VGA cables then switched to HDMI and its turning on
but the monitor states its finding no signal after like 10-12 second…when I power on…
All 3 fans are working although I cant tell if graphics fans are spinning…
My ethernet is plugged in and lights showing by ethernet plug yellow and green light are on…by io plate
USB for wireless keyboard and mouse…are plugged in
I had a green led light on motherboard one of the “EZ debug LED” lights …”boot” that I fixed by reinserting the two DDRAM back into their slots with better form…having them click in properly…
But now when I power on even though no lights are one or lingering on the “EZ debug LED” when I boot up they each come on for like a fraction of a sec then only the white led “VGA” hangs on for like max 2 seconds then goes out…
…but no “post” sound, no sound at all… have I ever heard upon powering on …so something isn’t booting up properly but I dont know what…
Ive check every cable… now what?
Steve
Hey Steve,
Yes, the process of putting a PC together has essentially been the same for many years now, hence why I’ve got the video on the page for any of the builds shared here – it’s a great video showing the basics of everything. And also mentioned in that section that if you want to see how a specific part is installed, then there are plenty of videos for showing the installation process for any other specific part that you would be using with your build, or like you mentioned following along with different part manuals.
And you are using the HDMI port going straight to your video card HDMI port and not the HDMI port for your motherboard, right? You aren’t able to use any of the motherboard’s video ports, you need to use the video ports available on your graphics card to your monitor.
After you reinserted the RAM sticks, did you ensure that they’re in the correct slots? Different motherboards sometimes have different specific slots for a single stick, two sticks, etc, and you’ll likely run into issues if you aren’t having the RAM inserted into the correct slots for any specific board. You should also try to boot up with using a single RAM stick, in the correct slot – you’ll be able to see the correct slots within the motherboard’s manual.
On the first boot up when you mentioned that all of your fans were working, spinning, you mentioned you couldn’t tell if the graphics card’s fans were spinning. As you’re troubleshooting and getting to booting up, keep in mind that most GPUs aren’t going to have the fans spinning unless under a heavier work load so the fans won’t be continuously spinning while you’re booting up.
It sounds like either the RAM not being seated in the correct slots or you were using a motherboard’s video port instead of the GPU’s ports on the initial boot up.
Let me know if/when you’ve tried those steps or if you need more help as you’re getting it going! 👍
Can this PC build handle Windows 11 or Windows 11 pro because I can’t find a Windows 10 disc
Randal,
Within the section I wrote about building this PC I share how to get Windows installed and getting connected to the internet as well. Here is a link to the article if you missed it, you can also start with an install of Windows 11 as well using Microsoft’s official installation assistant.