Building a $1000 gaming PC is ideal when you want premium performance and a foundation for the future of PC gaming. At this budget range, you can opt for a higher-end motherboard to increase the build’s “quality of life” as you continue to use it for years to come.
If you want to know how to build a gaming pc for around the $1000 price point then you should follow the part list below. This guide will show you how to go about building it as well as share what you can expect out of a build like this.
$1000 PC Build Part List:
Last Updated: January 21st, 2024
Case – Thermaltake V250 Mid-Tower Case
You can use Other Mid-Tower Cases as well.
Feel free to reach out in the comments below for help with other case choices and compatibility. 👍
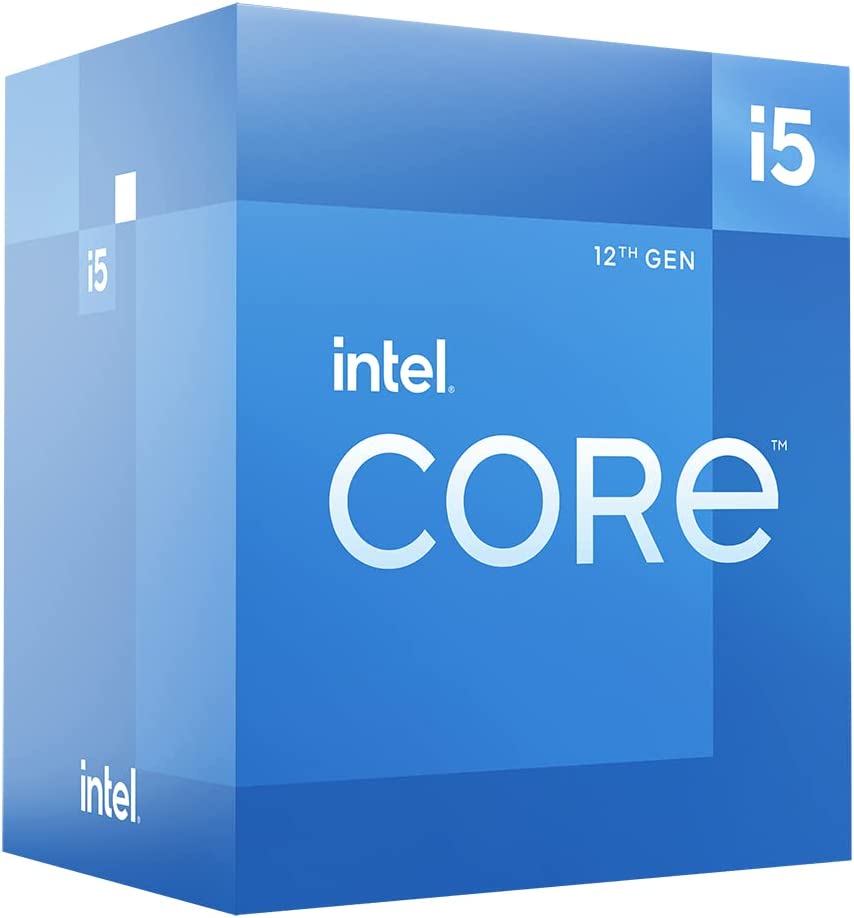
CPU – Intel Core i5-12400F 4.4 GHz Processor
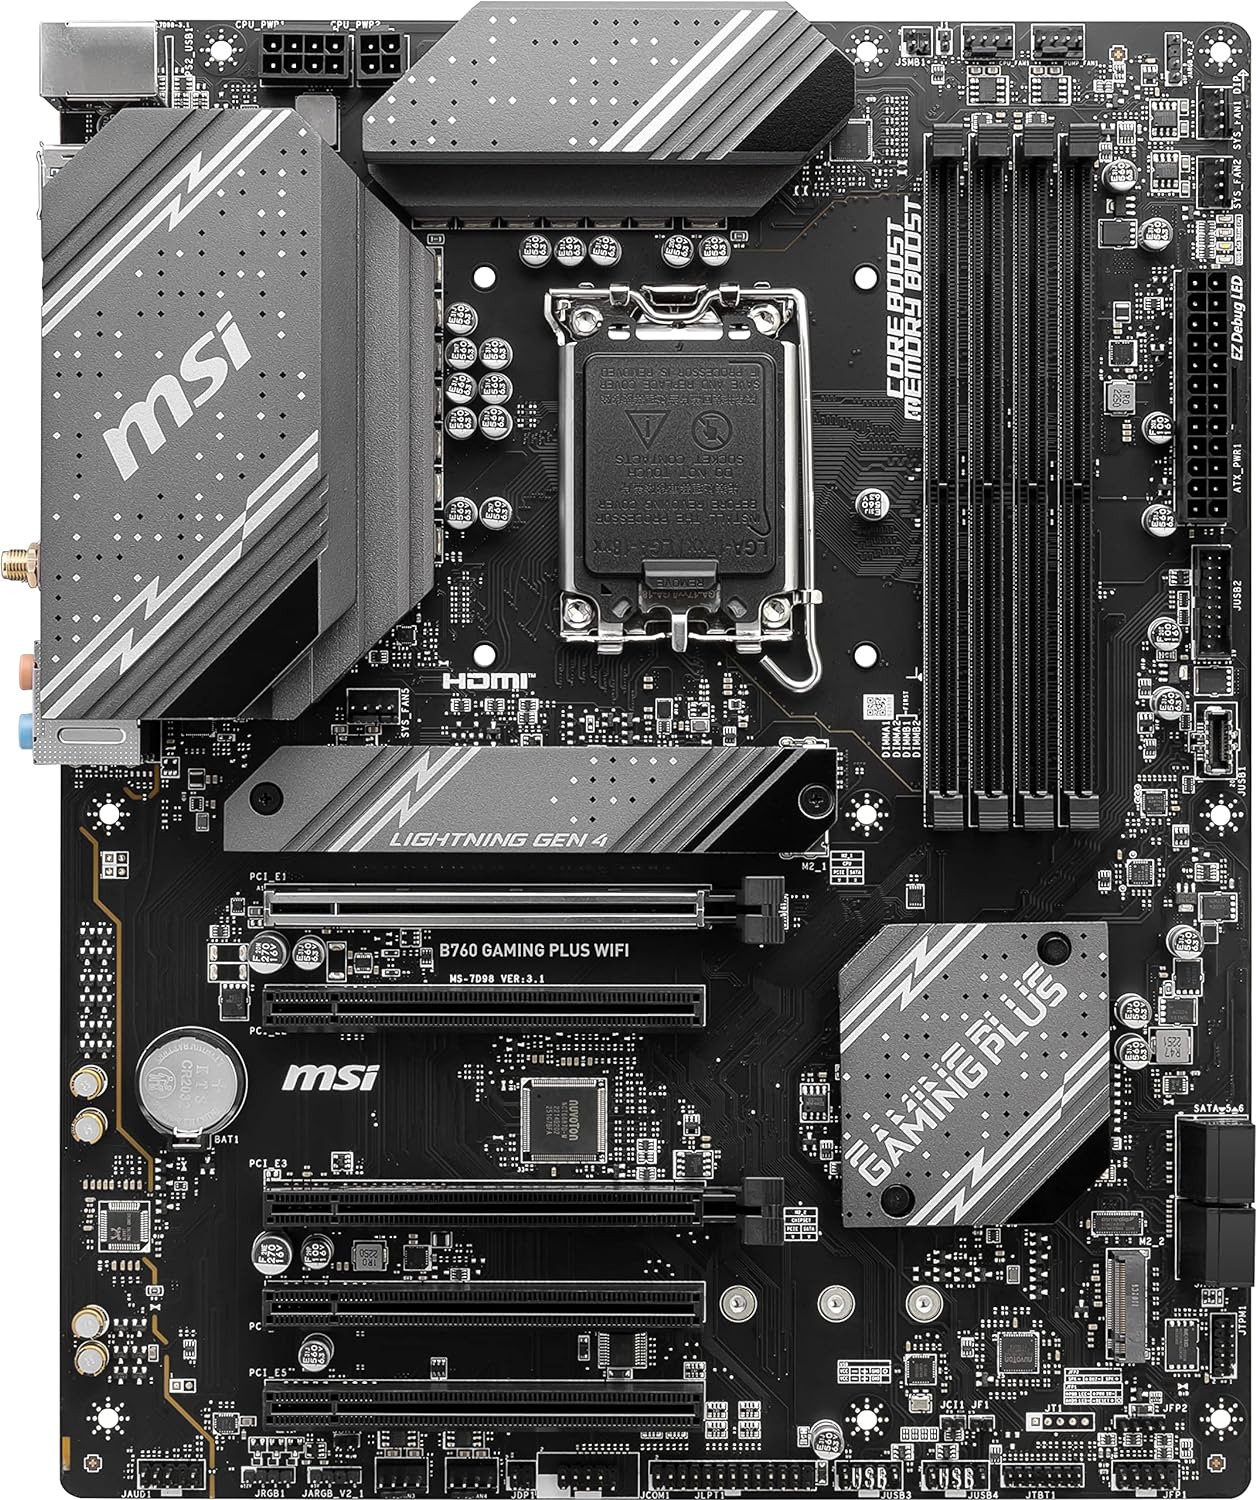
Motherboard – MSI B760 Gaming Plus WiFi LGA 1700 Motherboard
RAM – Kingston FURY Beast 16 GB (2 x 8 GB) DDR5-6000
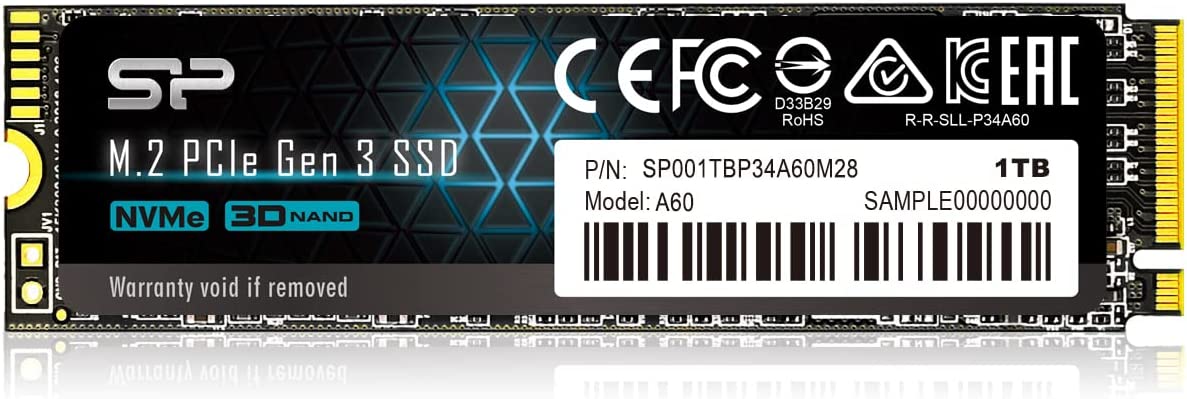
Storage – Silicon Power 1TB NVMe M.2 SSD
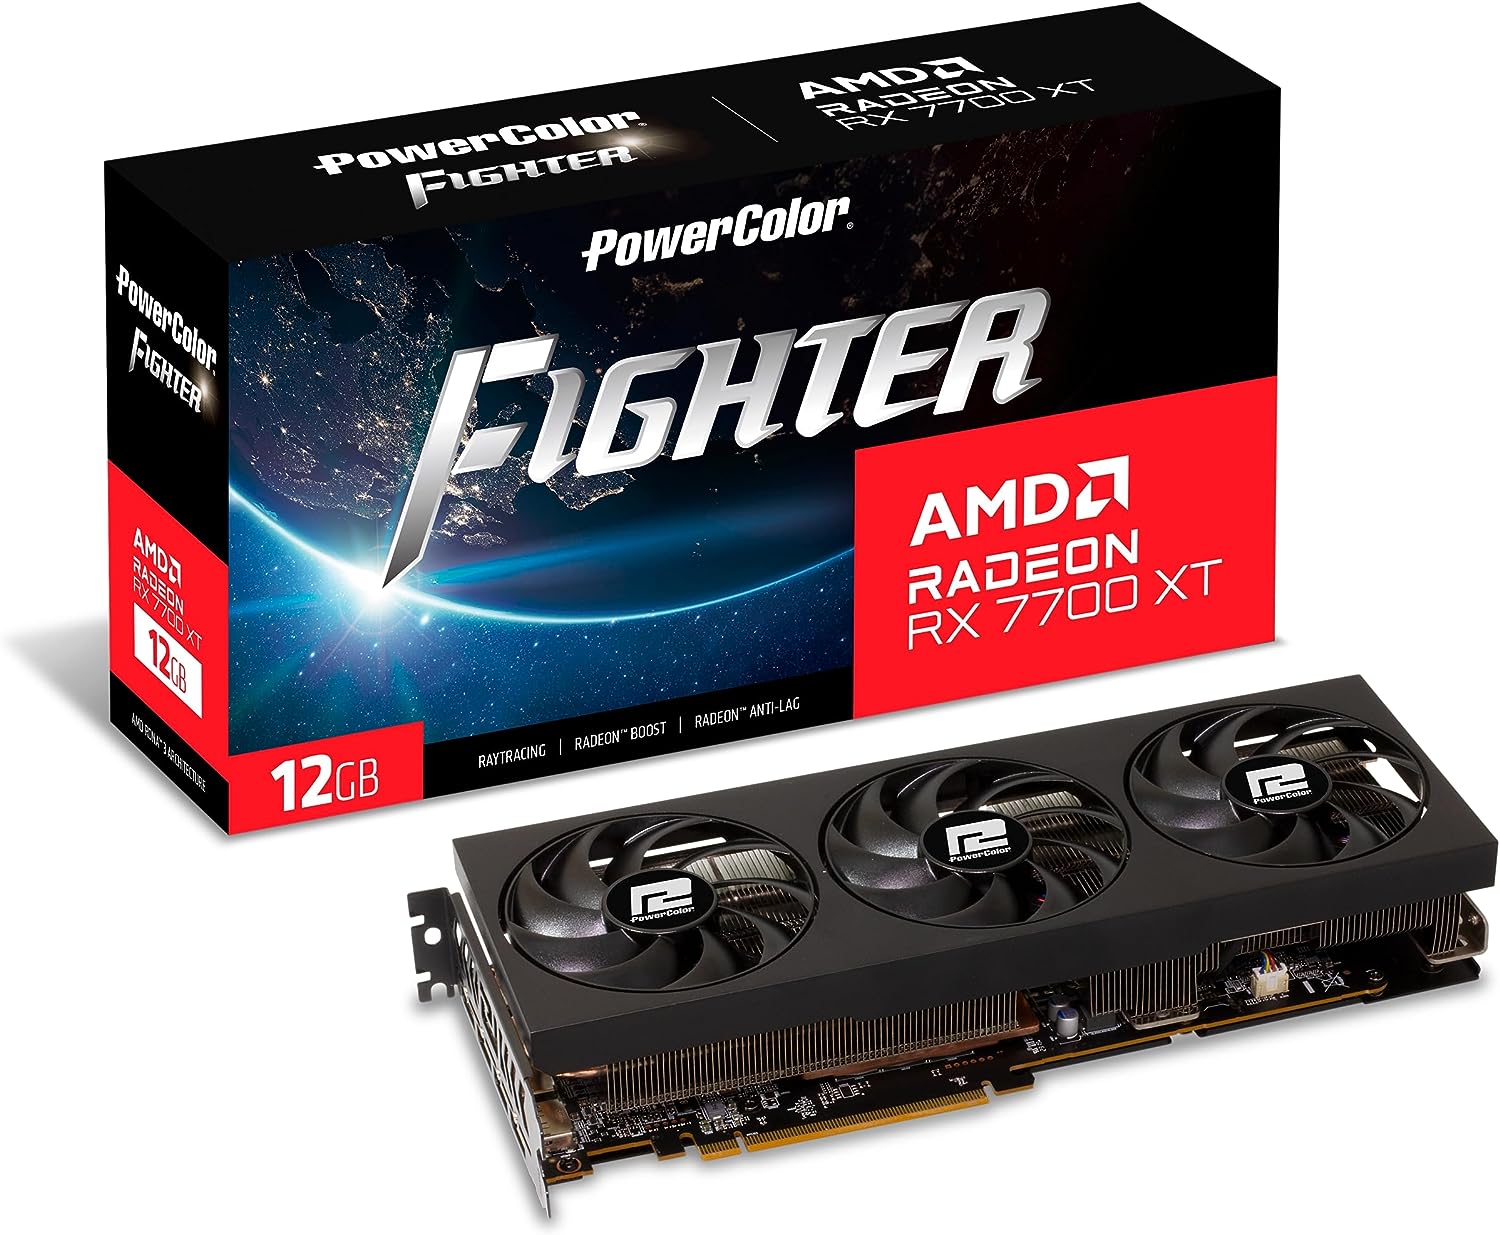
GPU – PowerColor Fighter RX 7700 XT 12GB
PSU – EVGA SuperNOVA 80+ Gold 750W
Estimated Final Price: $990-$1100
Gaming Performance
A gaming rig that’ll run you around $1000 ensures that you have some of the best gaming performance available for the lowest price possible. It’s easily one of the best builds when it comes to power per dollar spent.
Although you could save more money by opting for a DDR4 board and RAM, I wouldn’t suggest it. The cost is just a bit higher for the newest RAM available for a build like this.
You’ll have a good foundation for upgrading this way!
The RX 7700 XT card combined with an Intel Core i5-12400F gives you enough performance power to match up with a 144hz 1080p monitor as well as having potential for high-quality VR gaming and some awesome 1440p performance.
At the highest graphics settings possible at 1440p: You can expect this rig to run games such as God of War at 85 FPS average, Red Dead Redemption 2 at 95 FPS average, Fortnite at 250+ FPS average, Elden Ring at 80 FPS average, and Apex Legends at 300 FPS average.
This build is configured to set you up for the far future upgrades within the Intel platform. You also get a newer motherboard, a future-proof power supply, and amazing performance across the board.
When it comes to having a PC build that can handle 100+ FPS on the highest settings right away, this is the build to go for. This is for those of you that want to start out on the highest quality that’s available without going much over the $1000 mark.
How To Build This $1000 Gaming PC
I’d highly recommend following something like the video guide below when it comes to putting this PC together. It’s a great guide and it is easy to follow!
There may be some parts that are different from this build in the video embedded below and that’s okay! If there is another part that you don’t understand then you should look through the manual of that part and/or look up other video tutorials as well.
If you find yourself having trouble understanding a certain part then you should always search for the specific part and how to install it on YouTube, there are plenty of videos out there showcasing how each part can be installed.
For example, if you aren’t sure how to install your solid state drive then simply search “How to install a solid state drive into PC” on YouTube and you’ll find plenty of material to follow.
Also, you don’t have to use the above case for your build!
You can use almost any other mid-tower case if the above case isn’t your style. Feel free to browse the mid-tower cases on Amazon and if you find one that you think you’d like to use, link it to me in the comments below and I’ll be able to let you know if it’d work or not.
After putting your rig together, you’ll need to install your operating system, drivers and other software. You’ll also need to get connected online.
There are a couple of posts here on the site that you should read up on if you need to know how to install your operating system as well as getting connected online.
Click the buttons below to learn how to install Windows 11 and get an internet connection with your build!
Have Any Questions?
Feel free to reach out to me in the comments area below if you have any questions about the build, I’m all ears!
From average FPS rates for specific games, hardware compatibility, or whether or not a different case would work with this build… I’m here to help! 🙂


Hi do I only need the components listed above?
Hey Dom,
For the build itself, yes! But as I mentioned after the embedded video on how to put your build together, you’ll also need to install an operating system, such as Windows, and get it connected online. I explain how to do both with the links within that section!
Let me know if I can help more as you’re moving forward with your build! 👍
Hey Colton!
I’m looking for a gaming pc mostly to run DCS World and flight sims. Will this pc do it? I’m hoping to run it at good specs (30-60fps) but nothing crazy – I just want it to be functional. I also would like it if it was good enough so I could upgrade it a have it last a few years. And also could I add another 16gb of RAM if I needed to? DCS recommends 32gb of RAM for more demanding missions so I’d definitely like to add more if I could. Sorry, that was a few questions, I’m a little bit of a noob when I comes to gaming pc’s so hopefully they weren’t too bad! Thanks again!
Hey there Jim!
These specs surpass the recommended specs except for, which you already know, the total RAM. You’d still be able to run DCS without 32GB of RAM but there will be some hitches in performance while loading into new areas and assets that weren’t previously loaded. You could start with the build as is and put another 16GB in if you deemed it necessary.
Let me know if I can help more as you’re moving forward with your build! 👍
Hi, I’m interested in building a PC in order to use it for a racing simulator. Do you think this build is good enough to run Assetto Corsa with mods?
Hey Omar,
These specs far surpass what is recommended for running Assetto Corsa, so it would run it extremely well even with mods. The game unmodded, you’ll be getting over 120+ FPS average at 1080p. Performance may drop a bit with custom shader mods but it shouldn’t be anything super noticeable – would run very well while modded as well! 👍
would getting this 32GB mess up anything ? or does it have to be 16GB
https://amzn.to/43Qa3MX
Hey ramz,
You’d be able to use those if you’d like, they are 3200MHz instead of the 3600MHz listed here but it’s a great deal for 32GB of RAM. I’ve never used or helped with builds using that brand, with that said there are plenty of good reviews about them. Your call on it, they are compatible with the build. 👍
I noticed that you have changed the psu to the supernova, I just recently ordered my parts, is there any reason I should return the Thermaltake Toughpower 750W 80 Plus Gold Semi Modular PSU and get the supernova before I go through the trouble of building the pc?, or is there a quality difference between the parts?
You’re referring to this exact unit, right?
No worries, only made the change to the EVGA PSU because of more availability and it’s fully modular. You’re still good with the Thermaltake PSU and saved a bit more cash compared to the EVGA PSU. 👍
Do I need to purchase a CPU cooler fan for this build? This is my first build so I’m not sure which one to get.
Nope, if you’re going with the 12400F CPU listed at the time of this writing then it comes with a stock Intel cooler which is more than enough for cooling.
Let me know if I can help more as you’re moving forward with your build!
Would this case work with this build?
Corsair 4000D Airflow Tempered Glass Mid-Tower ATX PC Case – Black https://amzn.to/43osirV
Hey Jacob,
Yes – that case would work fine with the build! It’s an awesome case to go with. 👍
Would the qick instead of the swift still work for this?
You’re referring to this exact card, right?
For sure you could use that card instead if you’d like to, the performance difference is going to be anywhere from 5-20ish average FPS drops. It’s a rough estimate because it depends on which game, the optimization of a game, etc. 2GB less VRAM and a slight drop in performance but it is still a good card and you’d be shaving a bit off the top from total price! 👍
I meant the qick 319, I had heard it’s better than the swift but I have yet to find out how exactly because everyone is so vague.
It’s only better by a slight hair margin, about 1-3 FPS difference in raw gaming performance.
The only differences is the boost clock speed and size. On the QICK the boost clock speeds are OC Mode: 2622 MHz, Gaming Mode: 2548 MHz – where the SWFT model is OC Mode: 2581 MHz, Gaming Mode: 2424 MHz.
Size difference is height on SWFT is 4.8″ / 123.00 mm and the QICK is 5.2″ / 132.00 mm, SWFT is 304mm long QICK is 323mm long, and a slight size difference on the slots.
They both use the same power connector, have the same types and number of display ports, and besides the boost clock speeds all other specs are the same. So at the end of the day, it comes down to if you prefer the looks of one over the other, but mainly whichever one is cheaper at the time you decide to buy either one of those models for 6700 XT.
What would be a good monitor for this
Dread,
Since this build can get 120+ FPS on most titles titles at max settings at 1080p resolution, I’d recommend a nice 144hz/1080p monitor. I’ve used Asus monitors for many years, so it’s easy for me to recommend this ASUS TUF VG277Q1A monitor. 144hz refresh rate, 1ms response time, high-end build quality and under $200 is great for 1080p gaming.
With that said, it’s up to you if you’d want to have a higher resolution monitor, there is also preference if you’d want to have a higher res monitor but that also comes with having less frames per second on average, comes down to what you value more – more frames or higher res?
Let me know if I can help more! 👍
What would the numbers look like running escape from tarkov and rust
Hey Hunter,
At 1080p ultra settings, Escape From Tarkov would have 100-110 FPS average (depends on having FSR enabled or not) and Rust would run around 120-130 FPS average max settings.
How many fps in Minecraft?
It’ll depend on how many mods/what kind of mods you have installed amongst many other factors to get an accurate measure for FPS. Minecraft by itself, fancy graphics setting, and around 13 chunks on render distance you’ll easily get over 250+ FPS on average.
You’ll be able to run a heavily modded Minecraft with high res texture packs and still get upwards olf 100+ FPS average for sure.
Let me know if I can help more!
Hi there is it possible to get it shipped to nz cause I don’t really want to get scammed $1,000.
Olly,
All of the parts are linked to Amazon, you won’t be getting “scammed” from here and to these links. If you’re worried about other sellers, you can ensure that you’re ordering directly from an Amazon fulfillment center when you click over and see who is selling the part(s).
Let me know if I can help more as you move forward with your build! 👍
is this all you need
Zachary,
Besides getting Windows installed mentioned in the above section, yes! This will be all the hardware you need for the PC.
Does this build have wifi?
Lbrown,
The motherboard listed at this time of writing does not have built-in Wifi, so you would have to install something like this network card from TP-Link if you needed your build to connect wirelessly.
First of all thank you kindly for your write ups. How does this look?
It is basically exactly what you suggested with some (Hopefully) upgraded parts. Im a PS5 gamer so i will not be playing very heavy to begin with, but i do plan on playing 7 days to die (it doesnt update on console) and eventually starfield which wont be on playstation. I may also play fallout 3 & New Vegas. My goal was to get a PC with good enough graphics for starfield and one that will be able to play future titles for the next couple of years. Thank you for your time buddy.
Hey Benny,
The only thing I’d say is that you don’t really need an aftermarket CPU cooler. The 12400F will come with the stock Intel cooler and is all you need for cooling the CPU. Other than that, yeah, a build like this will certainly do well with those games and more future titles to come 👍
How would this build run with games such as apex legends and rocket league?
Chris, it’ll average over 200 FPS on Apex Legends on high settings, and Rocket League would run well over 250 FPS at 1440p max settings.
How well can this run apex legends?
At 1080p resolution and max settings, you could expect to get 200+ average FPS rates with these current specs!
Would these work with this?
8g ddr4 3600 sticks work?
For sure, you’d be good to go with those instead. 👍
Is cooler included in cpu?
Yeah, Sandro! The i5-12400F comes with the stock Intel cooler. 👍
https://amzn.to/3Z05hdy will this work?
For sure, you could use that case! Let us know if you give it a go!
Hi! I’m thinking about following this guide for a build, and I was wondering if this case would work for these parts.
Thank you for this guide and the other tips in this post, I found it very helpful!
https://amzn.to/3WQWbhv
Hi, Hanna!
Yes, you’d be able to use that case with this build but keep in mind that you’ll need a USB 2.0 to USB 3.2 Gen 1 header adapter and a USB 3.2 Gen 1 to USB 3.2 Gen 2 header adapter to fully utilize the case.