Last Updated: November 21st, 2023
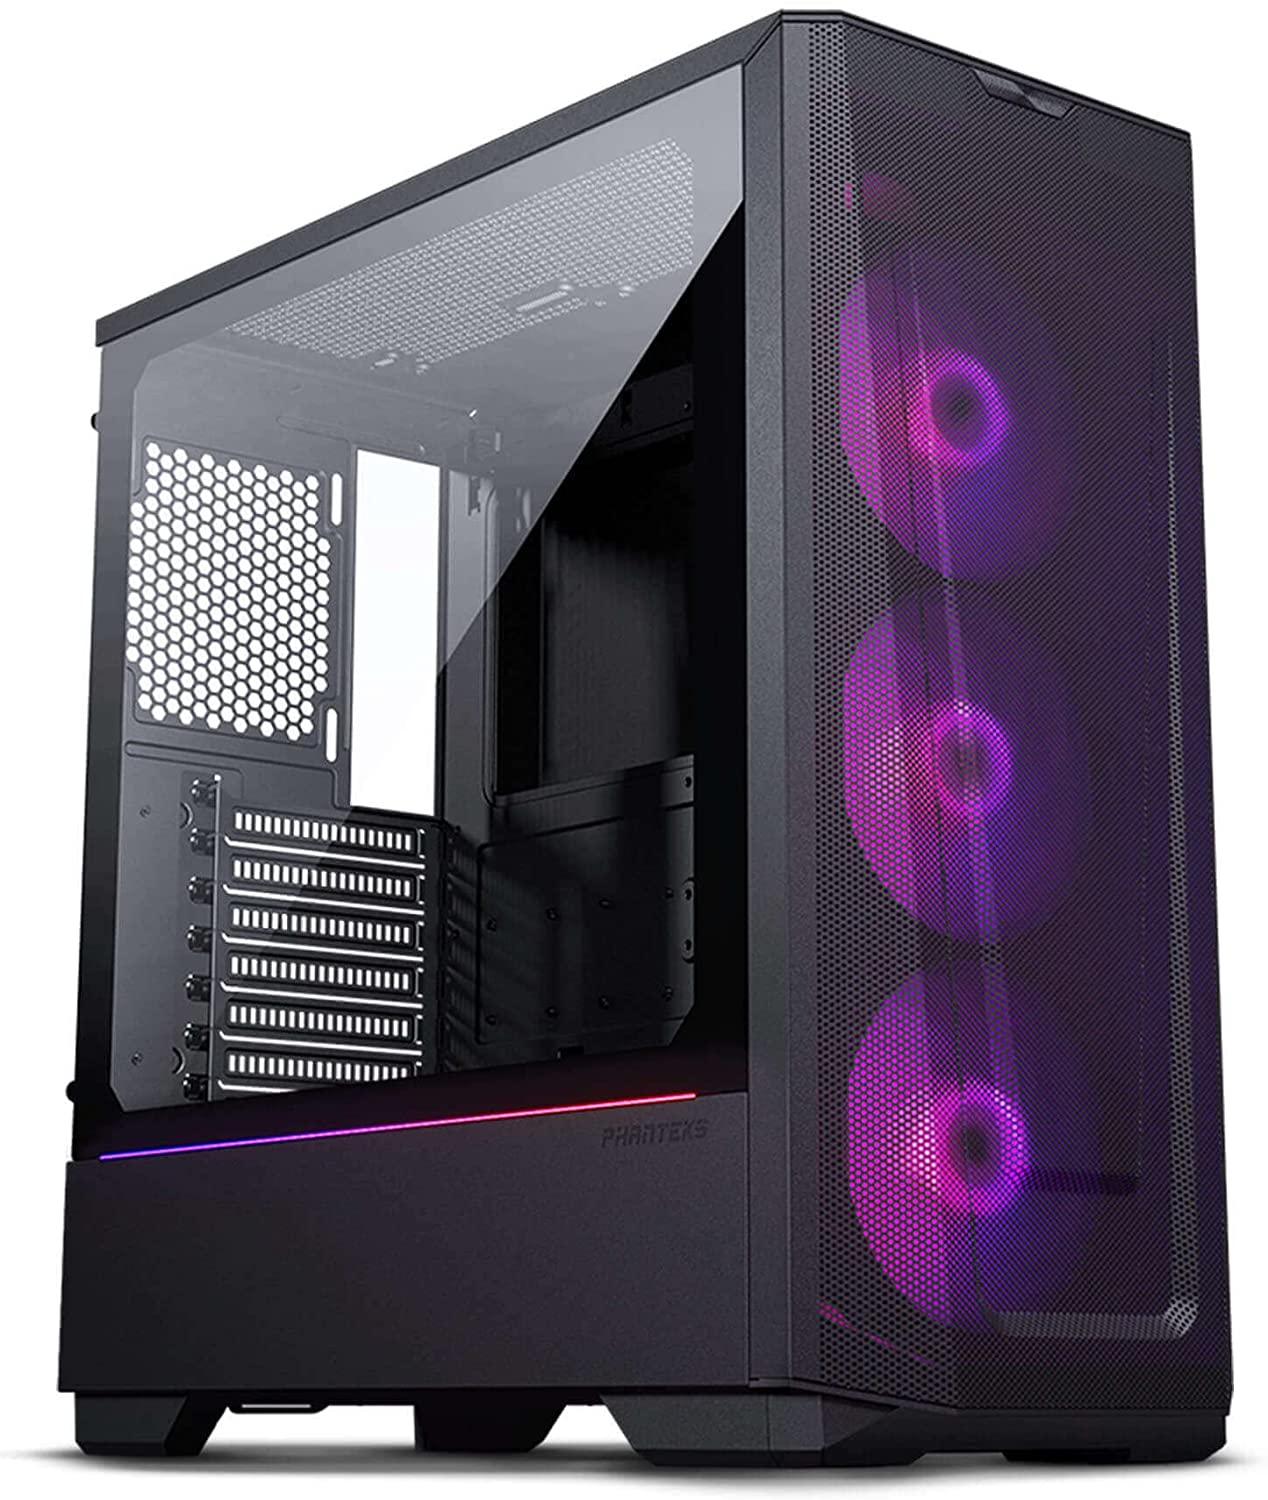
Case – Phanteks Eclipse G360A Mid-Tower Case
You can use Other Mid-Tower Cases as well.
Feel free to reach out in the comments below for help with other case choices and compatibility. 👍
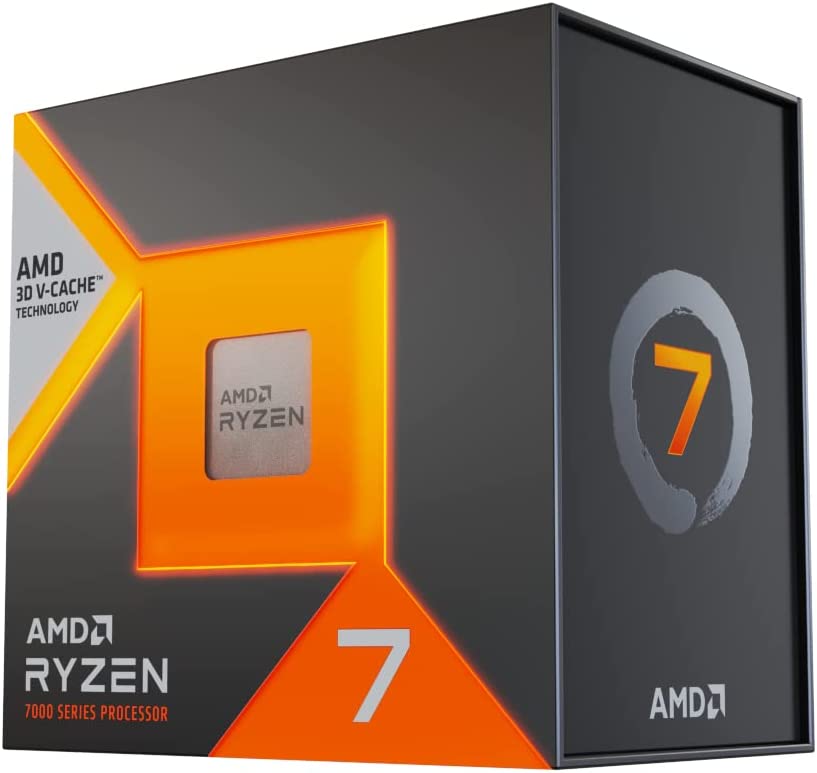
CPU – AMD Ryzen 7 7800X3D 8-Core 5.0GHz Processor
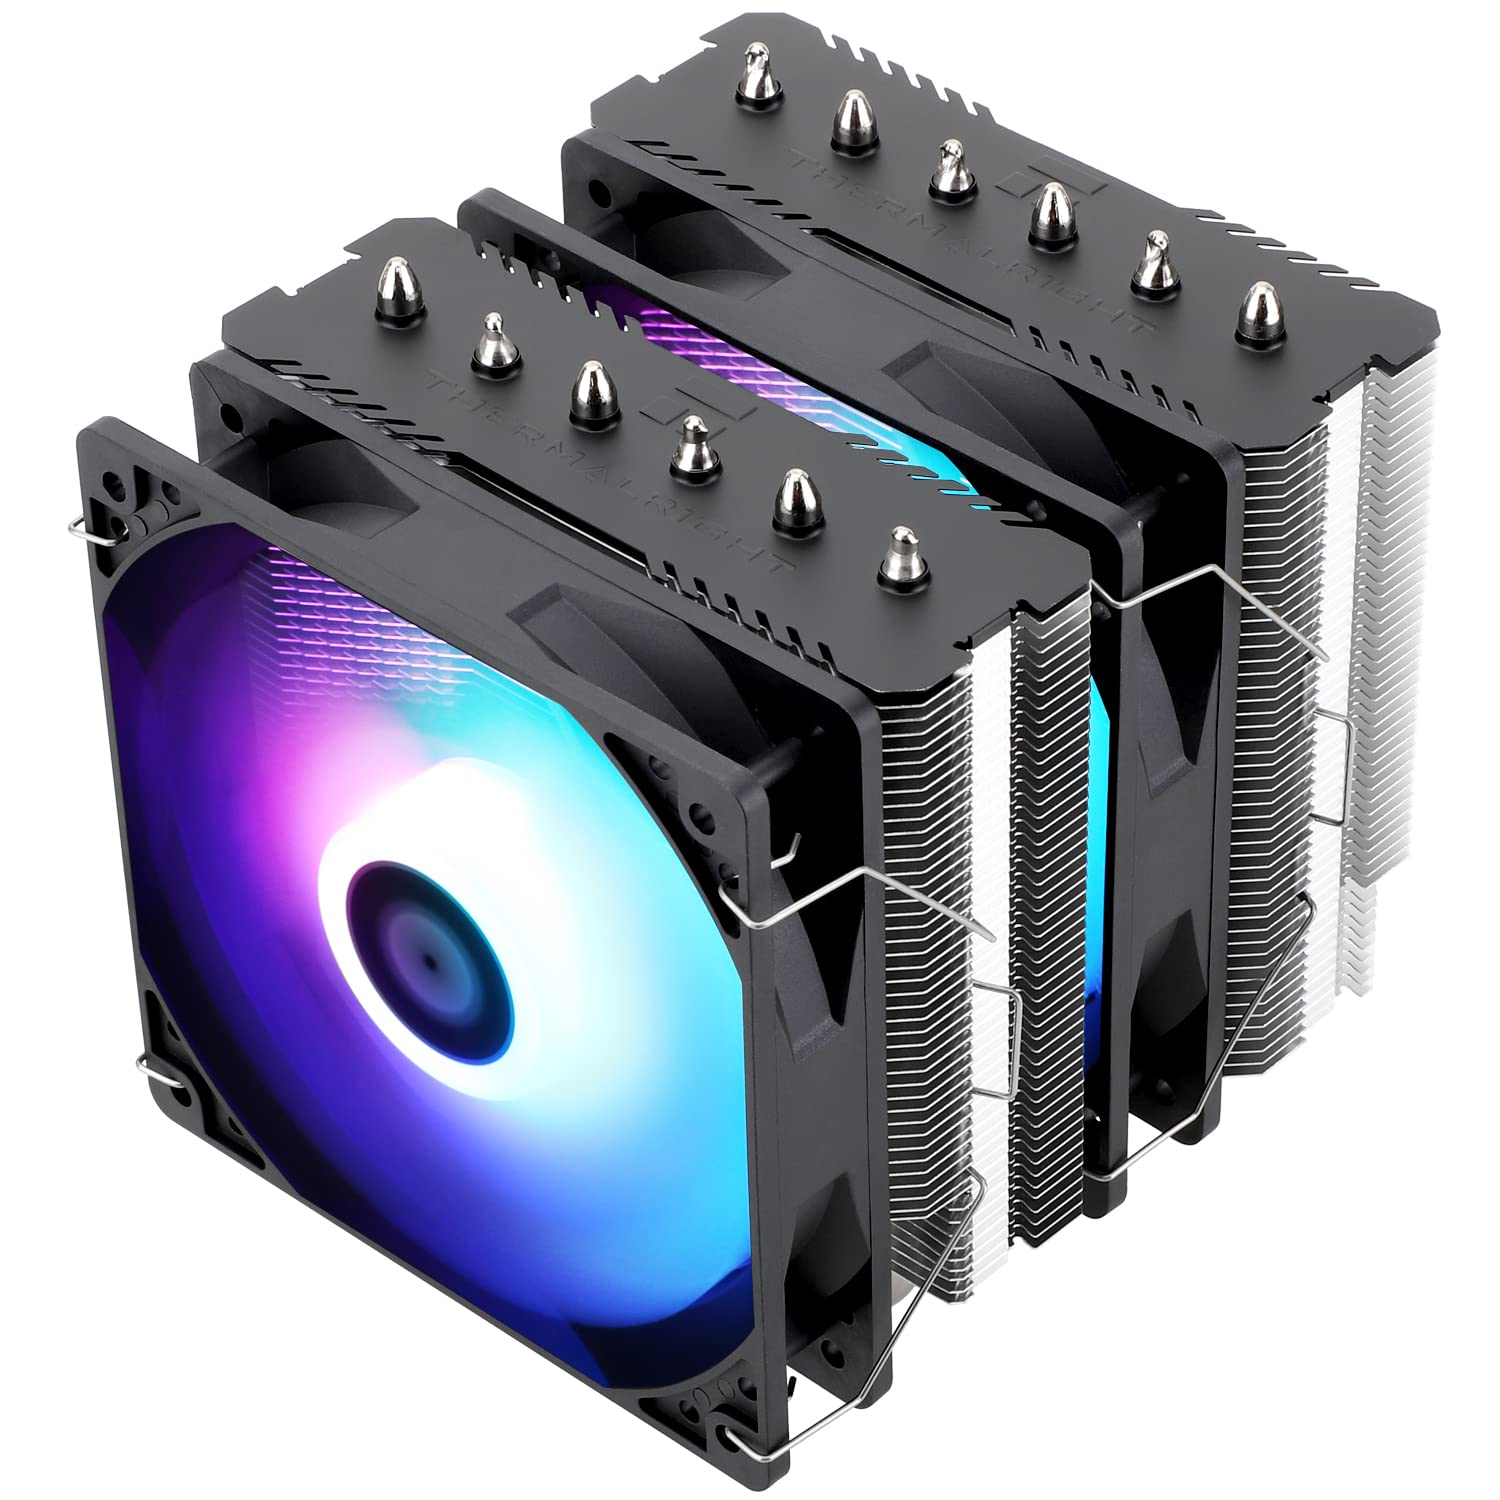
CPU Cooler – Thermalright Peerless Assassin 120 SE Air Cooler
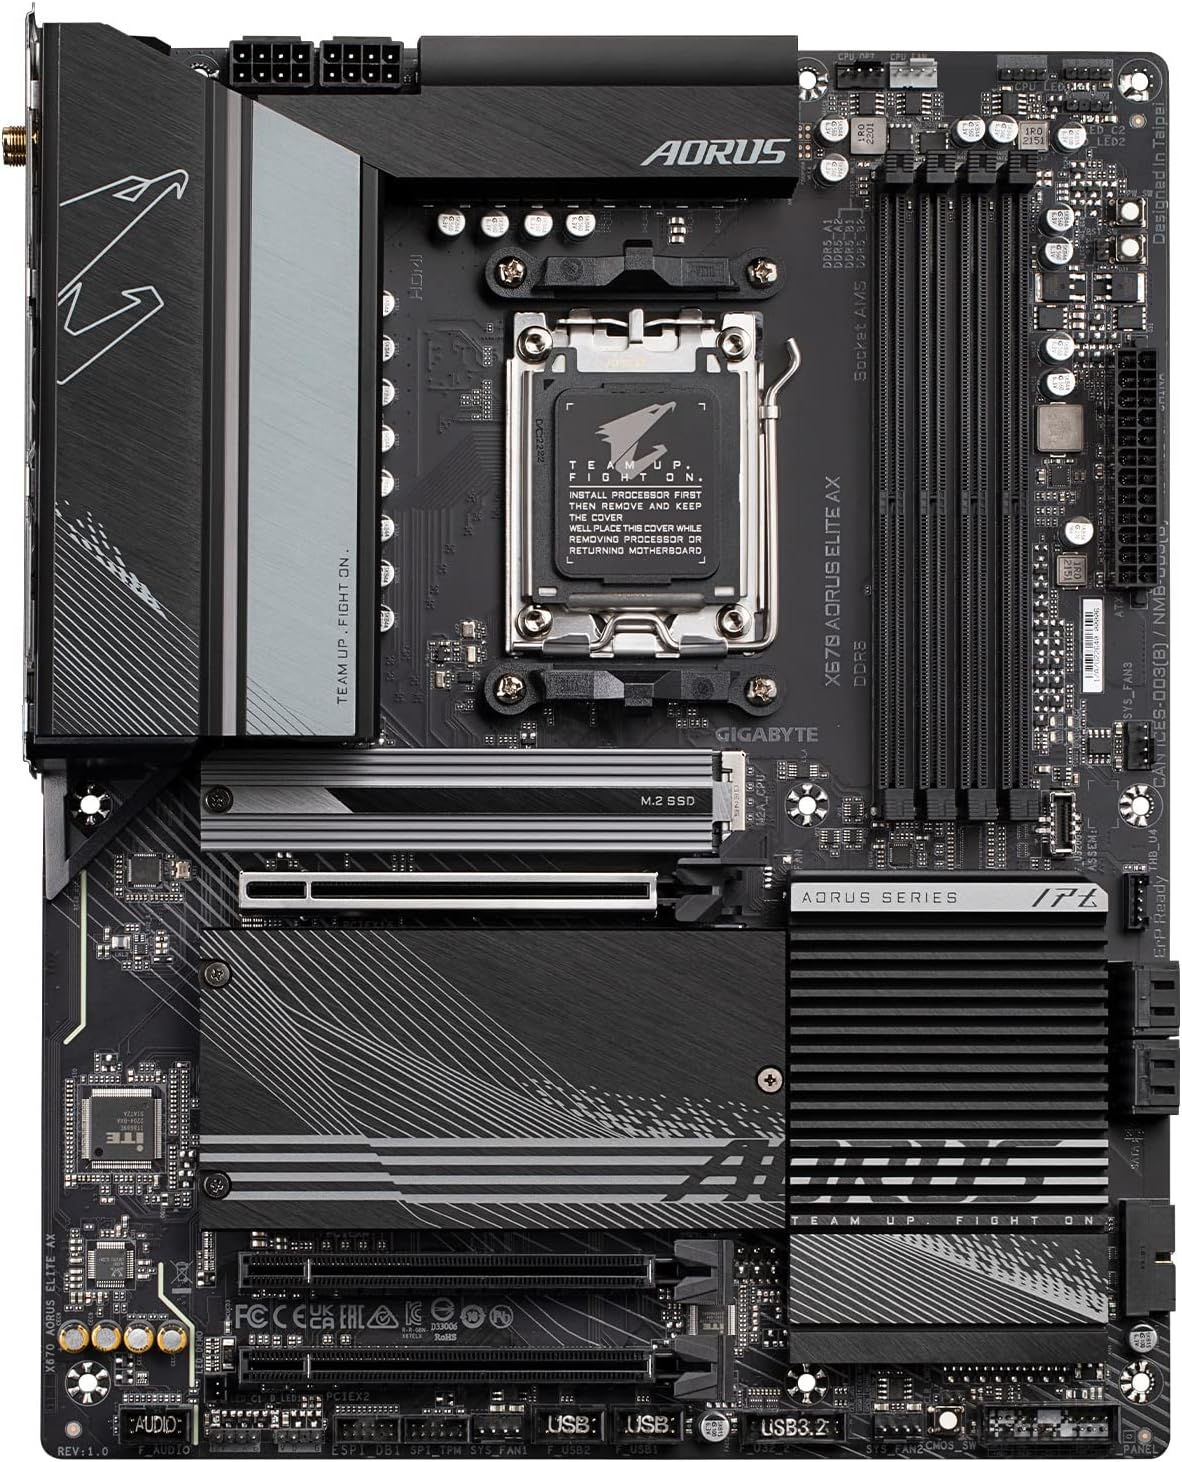
Motherboard – GIGABYTE X670 AORUS Elite AX AM5 Motherboard
RAM – G.SKILL Flare X5 Series DDR5 32GB (2x16GB)
Storage – Silicon Power 2TB NVMe M.2 PCIe Gen3x4 SSD
GPU – XFX Speedster MERC310 RX 7900 XTX 24GB
PSU – Thermaltake Toughpower GF1 850W 80+ Gold
Hey if I get the RTX 4080, would I need to change anything besides the PSU?
Thanks in advance
Hey NickY,
Nope! Whichever PSU you end up going with for the 4080, keep in mind that the 4080’s PCIe 16-pin power connector adapter is being supplied by three 6+2-pin power connectors. Ensure that the three 6+2-pin power connectors are not daisy-chained and do not share the same cable and you’re good to go.
As far as the case, a 4080 will fit as it can have up to 400 mm long cards.
Always here for whatever else as you’re moving forward with the build! 👍
Hello,
Will the Corsair 4000D work for the case as well? (First time building a PC)
Hey there Terry,
You’re referring to this exact case, right? If so then yes you’d be able to use that case for this build, but you’ll want to opt for a different cooler as it won’t be fitting the 360mm at the top, possibly opt for a 240mm AIO or an air cooler that fits as well?
Let me know if I can help more as you’re moving forward with your build! 👍
This will be my first build for a family friend. Do I need to get anything external for the wifi?
Hey, Kayla!
The Gigabyte board used at the time of this writing has wifi built-in, no need for a network adapter.
Let me know if I can help more as you’re moving forward with the build! 👍
Hi,
Since I’m a first-time builder, I’m trying to do this build as written (as of May 23rd, 2023); however, I decided to shell out a couple hundred extra bucks for the newer AMD Radeon RX 7900 XTX GPU instead of the XT that you have listed. Is there any reason I can’t use that graphics card with all of the other components listed, or will I need to change other things?
Thanks!
Hey Thomas, apologies for the late reply here but no, you didn’t/don’t have to make any changes to other components by going with that card. It’s an awesome card to go with! 👍
If you ever update this list, can you make the 16gb ram, 32gb ram? I do really heavy 3D rendering and with my current ram and it worked fine (30-60 fps 40 average), but it crashed after. I’ve been using this build for about 1 1/4 years.
Hey Rick,
Thing is with that, is that the different parts would have to be sacrificed to stay within the budget range. Surely anyone could possibly spend a bit less on the board or the SSD to add more storage down the road to make room for 32GB RAM in the build if it’s necessary for them, which it certainly helps with that type of load, but it’s also not necessary for game performance today which is what the parts are mainly focused on.
More than happy to help with specific part lists though with that in mind! I’ve got contact information in the “about” section here anyone feel free to reach out for a specific part list based on what you need the PC to do specifically! 👍
Hi there… I see that this list was updated recently (thanks for that) but also, does this list cover everything? like everything everything? or are there smaller common sense purchases that would be necessary but not obvious to a first time builder? and are there changes you would make to this build if my needs included both gaming, AND video editing? (probably an equal amount of both)
Thanks in advance!
Hey, Jess!
This is all of the hardware you need. I’ve got links for getting the build connected and getting an operating system installed – you’ll need to go over those posts as well. Other than that, it’s everything you’d need.
As for any specific changes for video editing/rendering, there’s really no need. This level of hardware will handle really all levels of rendering and editing as well as gaming at a high level. This level of hardware, it’ll handle it all! Any of today’s video editing software and the system requirements/recommendations, these parts exceed them.
Let me know if you need any help as you move forward with the build, all ears!
Any updates to the list given this is now 1.5 years old?
Hey Michael,
After the initial shortage of parts, these lists kept getting more and more tedious to keep up with the changing parts over and over again and I’m also working on other projects as well.
I plan to do full updates to each build list, slowly, but for sure… It has been so long because, for the longest time, the lists were a pain to keep fully updated. I hear you and will look into updates in the near future. ?
Is there a build you would recommend for a $3000 budget? Or even a $4000 if I could get a good monitor for it? I’m really trying to future proof myself as much as possible – though I don’t know if it’ll work given how fast tech seems to advance these days – and would really appreciate any feedback.
Hey there Dylan,
You have to ask yourself what you’re truly planning on doing with the build if you’re spending over the $2,000 mark because even at around the $2,000 mark it’d be a PC build that would be overkill even for today’s standards…
I understand the idea of wanting to future proof your PC as much as possible but with the level of performance we see with today’s newest hardware, there isn’t much out there in terms of gaming to “upgrade” to something significantly better. More things you could do would be to add more RAM to the build, maybe have a higher wattage power supply for overclocking needs down the road, add more storage devices etc.
Because how I see it, gaming hardware has advanced to such a high level that it doesn’t really make sense to try and “future-proof” your PC much further than a build like this. Anything more expensive and what not than this build and it’d be more so a computer for other needs as well other than gaming alone.
So like I said earlier, it comes down to what you’re planning to do with the build and you could add in some extras depending on what it is that you’re trying to do. Newest hardware advances is the absolute biggest jump we’ve seen in hardware and it isn’t going anywhere anytime soon. It’ll have high performance levels for many years to come.
Let me know what you think and/or if you’d like to discuss further about it, I’m all ears! ?
A lot of my worries about future-proofing my computer were simply because my last pc was built only a few months before a jump in tech, and I hoped to prevent that again since it was a bit demoralizing the first time. Aside from that, I figured anything over $2000 would be overkill, but I just wanted to be certain. I’ll definitely be taking my time for this build and be sure to cover all my bases!
Thanks for your time, you’ve been a great help! Merry Christmas!
I hear you on that, there are times where I question if it’s worth getting a hardware upgrade because something could be just around the corner… thankfully this time around the new Ryzen CPUs and both AMD and Nvidia showing the specs and tech behind the newest cards… it’s the most significant jump that has happened. And it just happened meaning that within the next month or so there should be plenty in stock.
I suppose someone could argue that the hardware jumps are significant for every time they develop new tech but this time really is a crazy huge leap of performance increase.
Always here for whatever man and I hope you had a good Christmas!!
Also, completely forgot to ask before, but what PSU would you recommend for overclocking? I don’t think I’ll overclock this build, but I’m planning to get a liquid cooler and PSU for it just so I have the capability.
The EVGA PSU listed in the part list is a great pick for this build because it’s still a bit more than what would be required for minimum (mainly because the newer GPUs use a lot more power now) but really anything that is at least Bronze certified and at least 750W would be great. If you aren’t using the newest GPUs (RTX 3000 series or 6000 series XT cards) then you could get away with a lower wattage… but 750W would be a safe choice. I’ve always gone with EVGA personally but there are other great brands as well.
You really only need more wattage than 750W if you plan on doing super heavy overclocking with the CPU and the GPU.
Hi, I actually built my first PC years ago using your build list before, and I’m still using it today, so I can say I love your recommendations! My question is, should I get a liquid cooling system with this build, and if so, which one would you recommend, or any other cooling system. Thanks!!
What’s up Caleb! Glad that you’re still enjoying the build.
I’d really only recommend liquid cooling if you plan on wanting to push the CPU to its limits. A liquid cooler isn’t going to be necessary if you aren’t planning on doing heavier overclocking to the CPU.
With that said, I’d recommend going with something like this AIO cooler from NZXT or this AIO cooler from Corsair if you plan on overclocking and wanting to keep it as cool as possible. The main difference is the software that either cooler uses, either one would do a great job keeping things cool with your CPU.
This is also assuming that you’d be using the above case – the Thermaltake V250 case – with your build. Some cases aren’t going to be compatible with a 240mm radiator so be sure that you’re using a compatible case for whichever AIO cooler you end up wanting to go with.
I don’t know that this price range is possible anymore with the ridiculous price of graphics these days!
Prices will eventually come back down but yes I agree, it sucks right now for the higher price ranges. Nothing is ever in stock, makes it really hard to keep up to date with the different builds here :/
Well, the prices crashed now.