Last Updated on December 5, 2015
So last night I finished building the PC build of my DREAMS, it’s everything I’ve ever wanted and then some. I was able to use some old parts which helped out!
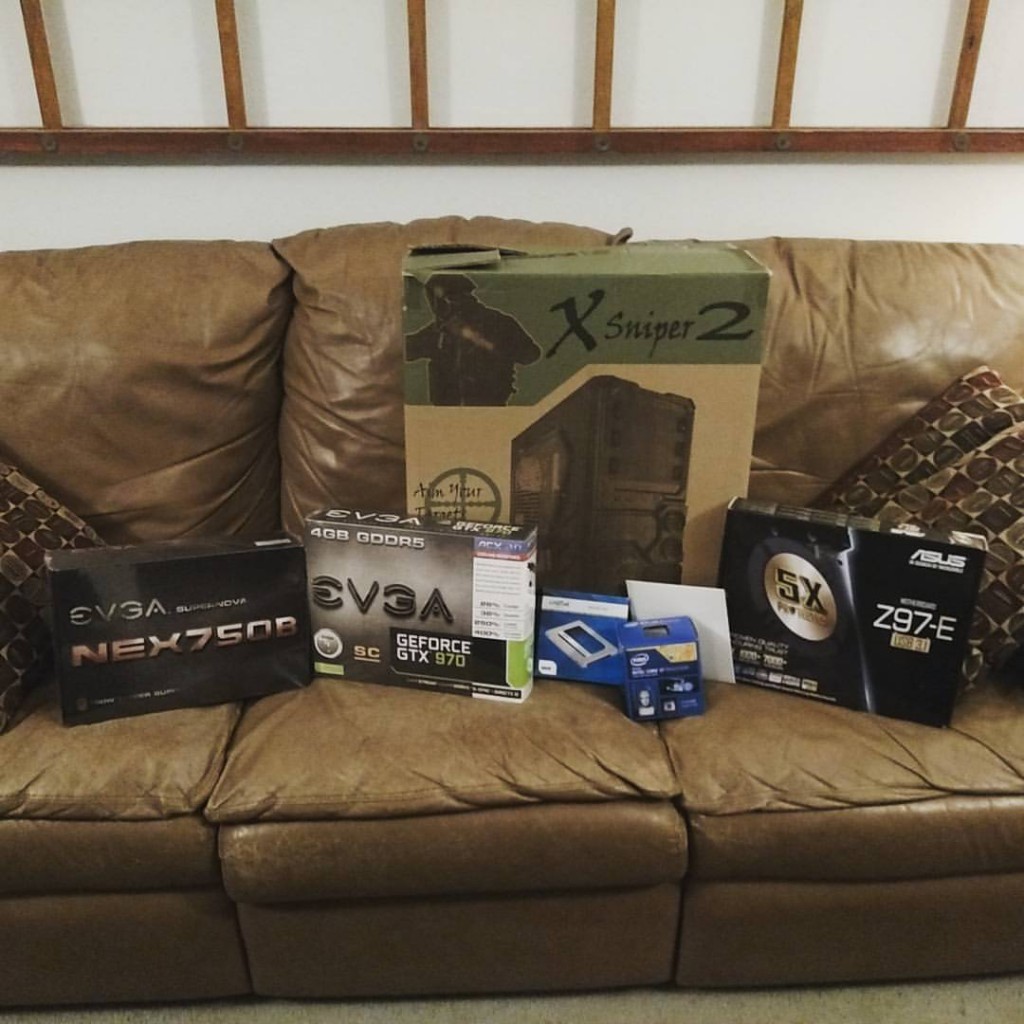
Scavenging some parts from my old PC build was nice but I wanted to make sure that most everything was going to be new. I got a new case, a new video card, a much better processor and I added a solid state drive to it as well.
This is the first time I’ve been able to actually experience 60 fps on max settings with some games and it’s my first time experiencing the speed of a SSD. Let’s get right to it! 🙂
Putting It Together Was A Lot of Fun, Kinda
I have plenty of experience putting PCs together for both friends and family but I went ahead and followed the instructions for my build from the video that I always share with you guys.
I did that because it was sort of nostalgic for me and it also really ensured that I wasn’t going to forget any steps. There were a few things I did wrong such as pointing the hard drive and solid state drive the wrong way at first so the side panel didn’t fit, I was touching the wrong prongs with my screwdriver to turn it on and there was one point where I thought I had broken the graphics card…
BUT all went well in the end and the build is 100% finished, I couldn’t be happier! 🙂
The case that I got came with SSD slots and I had thought that I should have had the parts of the drive to plug into the SATA ports and the PSU to be facing me but that wasn’t the case… I had to flip them around and try to fish the cables through with all of the other cables, it was a small mistake but one that still made the process a little longer than it needed to and I was absolutely dying to play some games with the finished build!!
For some reason I thought that these two random prongs on the motherboard were the way I was going to power it on but I didn’t even put 2 and 2 together to make 4… obviously the prongs to turn the computer on were the power switch prongs (duh) but it didn’t take too long to figure that out! 😛
Now almost breaking my graphics card… I didn’t actually come close to breaking it, I was actually just really paranoid about it…
There was one time where my necklace like hit the back of the card and I had a small fear of it being short circuited and then I had also hit it pretty hard while trying to unplug cables from the SSD and HDD to flip them around the other way… but everything turned out just fine and my worry was nothing to worry about thankfully.
Another thing that I think all PC builders go through is the thought that you have static electricity on you and that touching the parts are going to screw up everything. Honestly, 9.8 times out of 10 nothing is going to happen if you don’t wear rubber gloves or touch the PSU while the switch is set to off to ground the static from you.
But I always keep myself on the safe side so when I was handling the motherboard and graphics card I made sure to wear rubber gloves. It wasn’t until I had to start screwing the motherboard into the case when I decided to take the gloves off and start grounding myself with the PSU.
All of the parts came in at around the same date, the video card and processor were the last two pieces to come in and once they came in I went straight into the building process. All in all it took me about 1hr 30mins – 2hrs to finish the building process simply because I sort of took my time and didn’t really care how long it took me although my desire to get it done was insane.
I am using a HDD, a network adapter, a blue LED fan, 8GB of 1333mhz DDR3 RAM and an Asus CD drive from the old PC build. Below I’ll show you everything new that I got for the build!
The Part List
The parts listed in GREEN TEXT are parts that I didn’t have to pay for because I had already had them from my last build, everything else was bought brand new.
 Case – Apevia X-Sniper 2
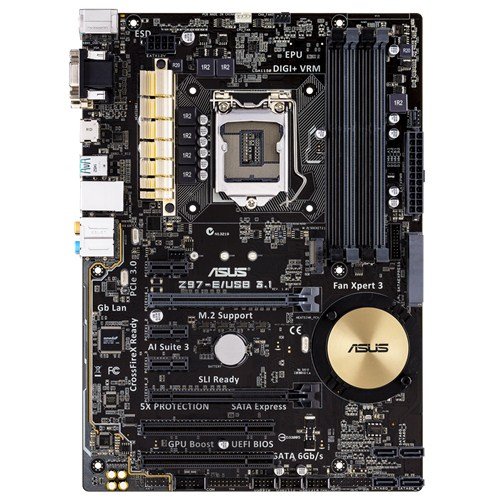 Motherboard – ASUS ATX Z97-E/USB 3.1 DDR3 2600 LGA 1150
 Processor – Intel Core i7-4790K
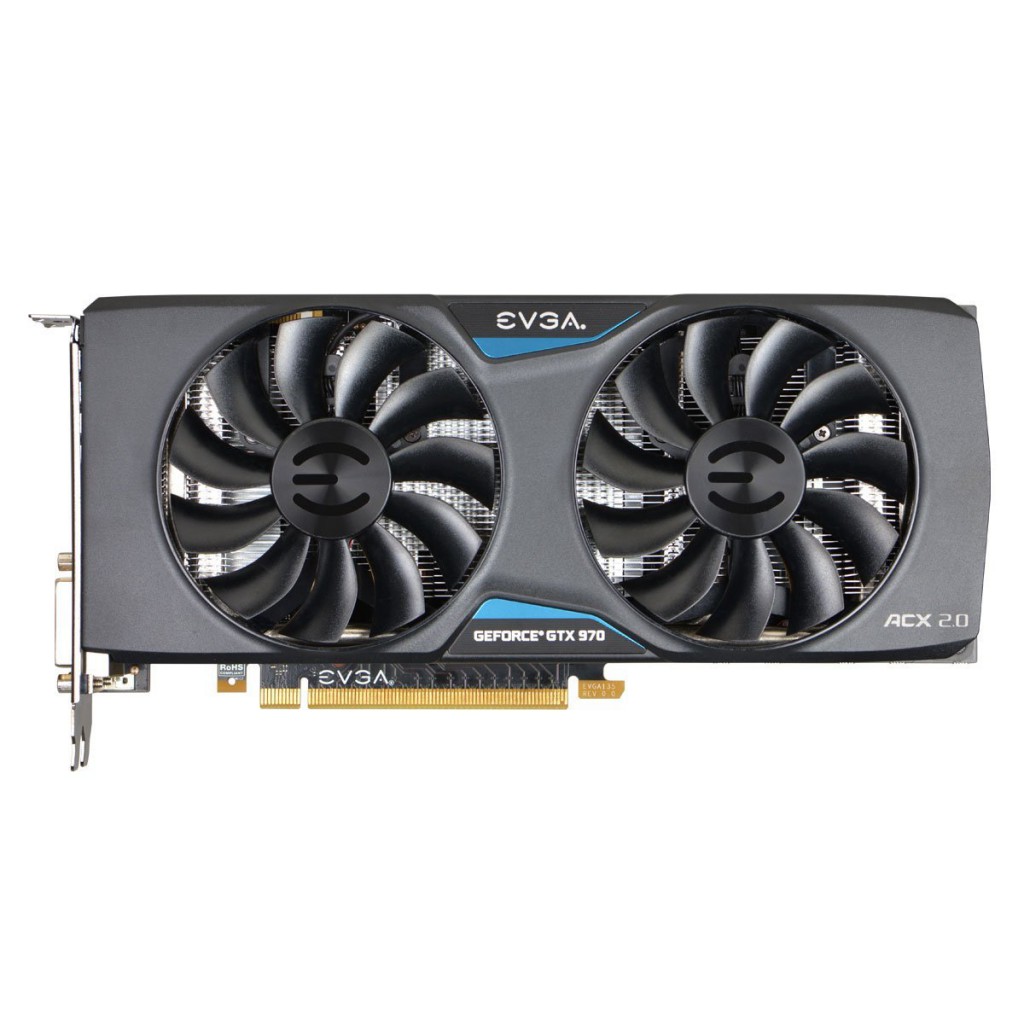 Video Card – EVGA GeForce GTX 970 4GB SC GAMING ACX 2.0
 RAM – Kingston Technology HyperX Blu 4GB (x2 to make 8GB)
 Hard Drive – WD Green 1TB
![]() Solid State Drive – Crucial BX100 500GB SATA 2.5 Inch Solid State Drive
Solid State Drive – Crucial BX100 500GB SATA 2.5 Inch Solid State Drive
 CD Drive – Asus 24x DVD-RW
 Power Supply – EVGA SuperNOVA B1 80+ BRONZE 750W
 Operating System – Windows 7 Home Premium SP1 64bit
 Network Adapter – ASUS PCE-N15 Wireless-N Network Adapter
Final Cost: $1,025.71
Details
I was able to grab the 970 for $289.99 and the i7 for $299.99 during the Black Friday weekend. Windows was $55, picked up the SSD for $120 when it’s usually about $160-$170. I saved $5 on the motherboard with it being on sale and the case never decreased in price.
I was able to save a good bit of money to grab much better parts by waiting for those sales to go by and it was also a big money saver being able to use the other parts from my old build!
The difference between this build and my old build is being able to actually run some certain games. I’m coming from a i3 processor and a Radeon HD 7770 1GB video card so these upgrades are very much so beyond my old specs in performance.
With my old build I would lag during Fallout 4 and would have to frequently restart the game because it was running at around literally 2 frames per second.
I don’t think my version of the i3 was anywhere near ready for running the newest AAA titles and I know for a fact that a 1GB video card just isn’t going to cut it going forward into 2016.
Now with the i7 and 970 I can feel confident about purchasing almost any games while being able to run it at max settings with a very high frame rate, basically guaranteed 60 FPS if I run a game at a tweaked high/ultra settings. It’s awesome, I’ve never actually experienced 60 FPS during gameplay with any game and I can definitely see why it is almost a must have for any serious PC gamer.
The SSD really does deliver in the way that everyone explains. It’s easily 15x faster than a normal HDD. I click the power button to my PC and it just turns on pretty much right in that instant, Windows takes seconds to boot up and then BAM I’m on my desktop. The YouTube videos comparing SSD load times to HDD load times are 100% real and I’m super happy that I decided to grab a SSD.
I installed Fallout 4 to the SSD and the game recommend ultra settings once I gave it a first time boot (that’s an awesome feeling by the way!) the load times were very noticeably faster than what I was used to and everything was running super smooth. PC games are definitely a lot more fun when the load times are cut in half compared to a HDD and when it is buttery smooth with the frame rate.
I also gave Rainbow Six: Siege a shot, I’m able to run it at a tweaked ultra setting for a very high frame rate. I also installed it onto the SSD and the load times are just amazing. I’m planning on basically adding any games that I play quite a bit and any multiplayer games as well on the SSD that way I can be sure that I can get to the necessary screen in a fast amount of time so that I’m ready for whatever comes next in the game.
To Conclude
All in all, this has really been my dream build for many years now and it feels amazing to finally be able to afford and put together a beast PC like this.
I plan on overclocking the GPU and CPU down the road though I will definitely be using the stock cooler for a few years yet, stock settings are more than enough for what I want in my games.
So, what do you think of my dream build? Do you think I spent too much?
Are you going to be putting together your dream build for Christmas?
Let me know in the comments below! 😀
Hey there! 👋 I’m Colton, founder of PC Builds On A Budget.
Whether you need help putting your PC together, finding a great pre-built rig, or want some help finding awesome peripherals – I’ve got you covered!
I share my experiences of anything and everything related to gaming PCs with you here. 👍
What monitor do you use?
I’ve used this Asus monitor for many years now! It’s awesome!!
Well, you got your dream build. Now all you need to do is upgrade it, of course! Any thoughts on how you’re gonna upgrade it, and even if you are?
I don’t see a need to upgrade until I get into higher resolution gaming really. I game at 1080p and I also have the Vive for VR gaming and so far the performance is totally fine for what I need. I’ll basically only upgrade the graphics card in the future, the CPU is going to be set for the future especially since I’ll be able to overclock it for further performance down the road!
Yeah, makes sense. However, I do think there is one more upgrade you could make… Ram. I mean, maybe I’m just weird about that part, but an upgrade there could serve well. You have a motherboard that I, assume, can handle 2600 DDR3, so I think getting a 2 x 8 stick of ram at 2600 speed would be nice. Well, that’s my only other thought then a GPU upgrade. Nonetheless, it is a great build.
Yeah I realize that the RAM is older and I’ll be upgrading it when I see that I need to but so far it hasn’t hindered me at all.
I got a question, why did you buy windows again? if i decide to upgrade lets say my cpu/MOBO,PSU Down the road from an old one, I would have to buy windows 10 again? Which part of the pc do i have to keep to avoid this? Thanks
Hey Will,
I wanted to have a Windows copy on my SSD, that’s the only reason why. If you kept the same drive that you installed Windows on then you’d be able to keep the same motherboard, power supply etc.
Ohh so as long as i keep the same hard drive that my windows is installed on, i can upgrade my cpu, mobo, psu, gpu, etc without needing to install windows again?
Exactly! 🙂
Hey Colton:
Sorry for so many posts lately. Just a few questions.
Is this motherboard significantly better than the one on your $900 build and worth upgrading to? Is this RAM worth using instead of the other? Is this brand of PSU better than the Corsair ones that you put in your other builds? They are more affordable. Also, is 750 W enough for overclocking down the road or are you just planning on upgrading your PSU later? I was looking at getting an 850 W but if 750 W will do the job then I’ll stick with that.
Thanks!
Casey
The motherboard on the $900 build is also a high quality board, I just wanted this board because I had the room in my budget and I’ve always dreamed of having a high quality Asus board. I’d go for whichever one of the boards you preferred aesthetically since they both have good overclocking features.
The RAM listed here may actually be worse, it’s old RAM I used from my previous build years ago.
I really dig the EVGA brand and use their power supplies for most of the build guides here.
750W will definitely do it, you’d only need more if you planned on running SLI/Crossfire down the road.
Wow!! Monster build, this runs Gta 5 60 fps at ultra? And also, if I ever do a build, I would like to start of withou an ssd and after months I’ll put one in, is this a good idea? Is there any way to transfer some data from a regular hard drive to the ssd if I wanted to? Like the operating system?
For the most part, yeah 🙂
When there is a lot going on in the game the FPS dip a little bit but it’s nothing super crazy, I can handle dips in FPS while the game looks the best that it can look right?
As far as adding a SSD down the road, it’s not a bad idea if you were only looking to use it for games and programs but you won’t be able to simply move the OS to the SSD. You’d have to install the OS right from the get go to the SSD otherwise you’ll have to reformat your current hard drive with Windows and install Windows on the SSD and if you’re using the refurbished PC version then that code can only be used one time…
I’d recommend getting a 240GB SSD right off the bat and then down the road picking up a 1TB hard drive instead
Ohhh alright thanks, One more question, I would love the gtx 980 but for now i can afford the one you put in this build, what are your thoughts on me getting this graphics card and wanting to upgrade to the 980? how would that work? do i have to save up all over again?
If you know you’re going to be gaming past 1080p then I guess that’d be an ideal route. You should also consider possibly getting a 2nd 970 down the road to run two of them in SLI.
Hey Colton,
My stock x51 has an Intel i7-3770 @ 340 GHZ, would using that processor over the one recommended here have a serious impact on performance?
Thanks!
Hey there David,
That’s still a very good CPU man, sure it’s not to the same degree of power as the one above here but it’s still got more than enough juice behind it to handle everything that is up and coming in the PC gaming industry!
Hello, I’m very new to the PC building scene and I was curious because this build is similar to what I was considering.
Does this build have HDMI options?
I apologize if this is a very basic and mundane question, I’ve just been learning a lot over the past couple weeks and it gets a bit confusing at times.
Hey Jared,
Don’t worry about asking questions, we’ve all been there and when it comes to putting together a high priced PC you’re going to want to make sure you understand everything for sure!!
Yes, the graphics card has HDMI with it so any display that plugs in via HDMI would work with the build! You’d want to use the video ports on the video card, not on the motherboard!
wow Colton, Congratulations. You did very well. I would also love to build a pc like that because I have following config right now:
core i3 2120
h61m vs3
gtx 650 ti
8gb ram
500gb hard drive
corsair vs 450watts
I want to have the following parts:-
i5 4690k
gtx 970
a good two way SLI motherboard
8gb ddr3 corsair vengeance ram
1tb wd blue
250gb ssd
Nzxt s340
evga 550 watts
In India it will cost more than $1000 because parts are expensive than in USA.
Hey Sarfraz,
Thank you, I’m super happy with the build and it’s going great! I’m pretty pumped for trying out VR with it – more specifically the Oculus Rift 😀
That build would be amazing as well, if you thought about overclocking I think you’d want to up your wattage a bit though, especially with SLI in mind.
then I should take a 750 watts power supply. You are right!
great build!!!
I have something similar. I been running stock and loving it, but in the near future i would want to OC the cpu and gpu. Can you do a tutorial Colton ? like whenever you decide on OC.
Andrei,
Thanks man, for sure I’ll definitely write up an overclocking tutorial/experience post! It’ll be a while yet before I decide to overclock, though I’m thinking of going with some liquid cooling whenever I do decide to make it happen 🙂
How does this build compare to your other $1000 PC build?
Hey Douglas,
Well it’s a bit more expensive for sure, I was able to pick these parts up on sales with the Black Friday and Cyber Monday deals. Having the SSD helps a lot with loading times and boot up times, that’s what this build has over the $1,000 build that’s listed.
I’d go with the $1,000 build I have listed if you’ve got that kind of budget going on simply because it’s going to be a little cheaper right now than this build. I believe the GPU on the $1,000 build would be a little bit better in performance, though the difference is pretty slim.
Also, how would you compare windows 7 64 bit home premium to windows 10 64 bit home?
I’m really liking Windows 10. It takes a bit of time to get used to but I’d say that you’d be better off going ahead with the upgrade to 10. It’s basically like combining Windows 7 & 8 together while keeping the feel of the start menu of 7 more than 8. They also got rid of the weird desktop thing on 8, 10 feels much more like 7!
What if one wanted windows 8.1?
You could still go with Windows 8, Amazon has copies of it!
Really nice build! I’m thinking about getting the case you did as the green is an amazing color.
Cortana,
Thanks! 😀
The case is amazing! It was so easy to work with, the drive slots were simple and overall it looks awesome! I’d highly recommend it!!